|
Adding Conditional Formatting |


|
You are able to add conditional formatting to your table to change the background color or a cell, text color and more.
1. Select the Table that you want to configure Conditional Formatting for.
2. Navigate to the Design contextual tab in the ribbon.
3. From the Properties groups select the Conditional Formatting button.

Figure 1: The Conditional Formatting button is highlighted in the ribbon.
4. In the Conditional Formatting Pane you will first need to select the Add column button.
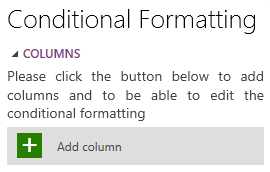
Figure 2: The Add column button highlighted in the conditional formatting dialog.
5. View the configuration options below for the Range and Values of your Table.
Format Range
You can add conditional formatting a specific range of your data.
1. From the drop down menu select which column you would like to work with.
2. Double click on the Range bar to add a new range value.
3. Adjust the Range you would like to apply the formatting to by either dragging the range, or by typing in value in the value field.
4. Add a Caption for this range. This caption will appear in the Legend added to your table. NOTE: If you leave the as Default the range numbers will be used.
5. Select the conditional format you would like to add to this range: background color, font color, bold font.
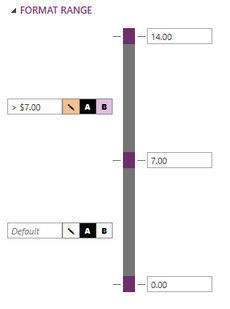
Figure 4: The background color and text color were changed, and the font set to bold
6. Repeat these steps (1-5) to add formats for different columns or additional formation to the same column.
Values
You can also formatting to values as exceptions from the range you have defined.
1. Select the Add value button.
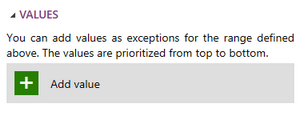
Figure 10: The Add value button highlighted in the Conditional Formatting dialog.
2. Add a label for this value. This label will appear in the Legend added to your table. NOTE: If you leave the as Default the condition will be used.
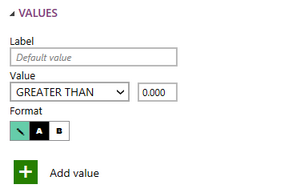
Figure 11: the Label was left as the default value.
3. Select the condition type, Greater than, Less Than, or Equal to, and value you want to use.
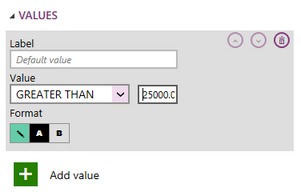
Figure 12: The value was set to be greater than $25,000.00.
4. Select the conditional format you would like to add to this value: background color, font color, bold font.
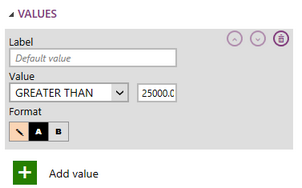
Figure 13: The color has been changed.
5. Repeat these steps (1-4) to add formats for different values.
Next Steps
Changing Table Fonts - Learn about the different options available for Table Fonts.
Adding Table Boards - Learn how to add a border to the entire Table.
Editing Table Data - Learn how to edit Table data after inserting the widget.
Adding Conditional Formatting - Lean how to add conditional formatting to your table.
Header - Learn about the options you have to edit the table headers.
Totals -
Caption - Learn how to customize the Table caption to meet your needs.
Widget by Marking - Learn how to use marking to relate your inserted widgets.
Filter by Marking - Learn how to configure your widgets to filter depending on the markings you have set.
Advance Chart Options- Learn about the advance options you can use to customize your table.
Adding Java Script - Learn how to add javascript to your Table.