|
Conditionally Choosing an Image |


|
|
Conditionally Choosing an Image |
|
Often times, you might want to intelligently insert an image into your document depending upon your data source. Imagine producing a statement for two companies and each company has its own logo. You can use, for example, a data point called "company-name" to test this and apply the image conditionally. So when this data point contains "Company A", company A's logo will be inserted, and when the data point contains "Company B", company B's logo will be inserted. This is typically called selecting an image on a conditional field. In this section, you will learn how to set up conditions to test your data source and insert the image that you wish to specify when the condition is met.
Configuring Your Conditions
1. To begin, you will need to identify an attribute or text value in your data source that you wish to test in your conditions.
2. You will need to select the Image button from the Insert Tab in the Ribbon.
3. From the Insert Image Dialog Select the Dynamic Value button.
5. At this point, you will be presented with the Dynamic Property Dialog. Here you can set a default image if you wish; to either be static by selecting browse or dynamic by selecting the dynamic value button.
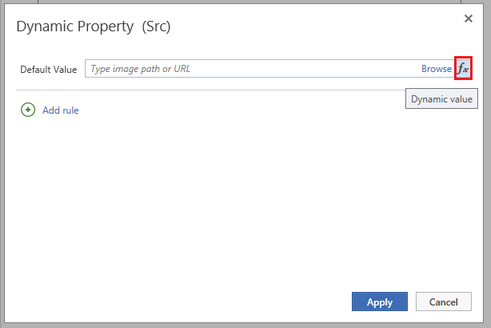
Figure 1: The Dynamic Source Dialog will allow you to adjust the default image to be use.
4. To configure a condition for your image, select Add rule. This will launch the Create Condition Dialog.
5. In the Create Condition Dialog you will need to create the configure the condition you to show the image you would like.
4. In the Create Condition Dialog you will need to specify a condition for which the formatting will change.
a. Select in the Data Tree the data value to base your condition on.
b. Then, choose your type of condition based on available options for based on occurrence, numerical value, or text value.
c. Then specify the details of your condition for contains or starts with using the drop down menu available and then add the value to test for. You can create more complex conditions manually by selecting the Create Expression button. When you are finished configuring your condition, select Save.
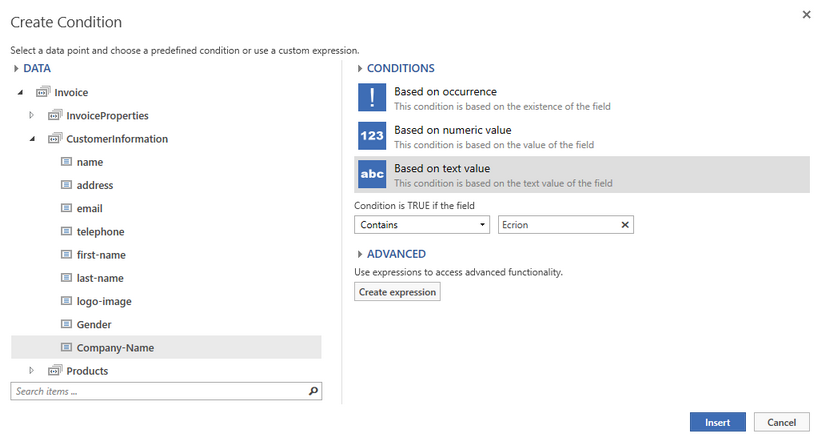
Figure 2: You can see all of the configurations we made in the steps above.
6. When you have completed all of the configurations select Insert and you will be brought back to the Dynamic Property Dialog. From here you will need to select an image that you would like to show when the condition is met. This can be a static value or you can select the Dynamic Value button to select an image from your data source.
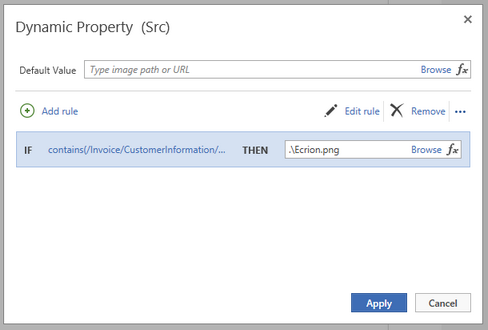
Figure 3: We have selected a static image from a folder show when the condition is met.
7. You can now repeat this process to add as many conditions as you would like. Once you have set up all of your conditions, select Apply from the Dynamic Property Dialog, then select Insert from the Insert Image Dialog and you will be returned to the Design View where you will see a place holder image is set.
Results and Testing
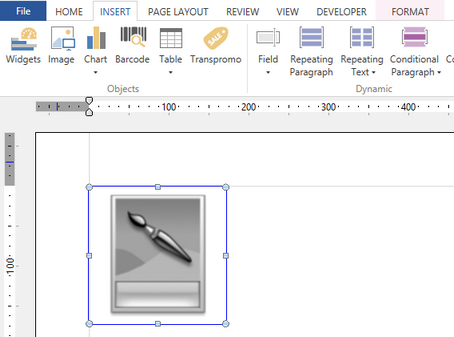
Notice in the Design Surface that your image is marked with a placeholder. This is because the Publisher does not yet know what image is to be used until the document is generated and the XML Data Source is evaluated to obtain the image. It is recommended at this point that you test the configuration of this dynamically driven image by previewing your output. To test the behavior of your conditional image, you should modify the value in the XML source to pass or fail your condition and observe the results.
For our example, we'll change the value in the XML to be "Ecrion" and preview, then change to another company name and the default image should be shown as we have not configured any other conditions. You can learn more about modifying your XML data source in the Publisher in the How to Edit Your Data Source section of the documentation.
Figure 4: The image placeholder is displayed as the image is dynamic. |
Figure 5: The output reveals that the image configuration was successful. |