|
Using an Embeded Image in Your Data Source |


|
|
Using an Embeded Image in Your Data Source |
|
Often images are included directly in the data source. If an image is encoded into a base64 string and is present in the data source, the Publisher can also take this image directly from your data source and insert into your document.
Most users that work with their data will know if this option is available in their data source. Below, in Figure 1, is a common example of what this base64 string might look like in an input XML source. This will be our starting point for this example. Our goal is to use this string located in the "logo-image" attribute to dynamically pull the image from the data source.
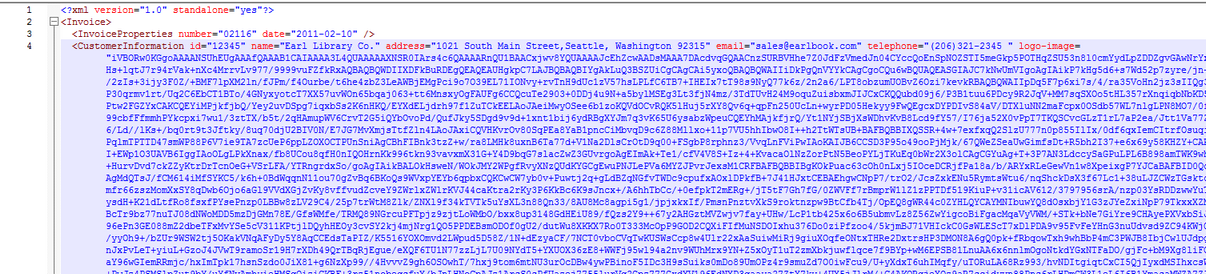
Figure 1: A base64 string is present in the attribute "logo-image".
Data Field Configuration
1. You will need to select the Image button from the Insert Tab in the Ribbon.
2. From the Insert Image Dialog Select the Dynamic Values button.
3. At this point, you will be presented with the Dynamic Property Dialog. Here you will see the image you selected to be used. Select the Dynamic Value button for the value of the default image.
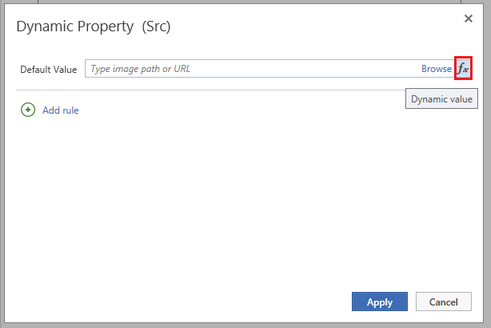
Figure 2: The Dynamic Source Dialog will allow you to adjust the default image to be use.
4. Using a base64 encoded string requires a specific syntax beyond just selecting from the data source, so you will need to select Create Expression located in the Advanced Section of the Dialog to the right.
5. Next, select Add a function and from the drop down menu select Concat(). This function is used to concatenate strings and data points. The Concat() function will automatically be inserted into the Expression Dialog.
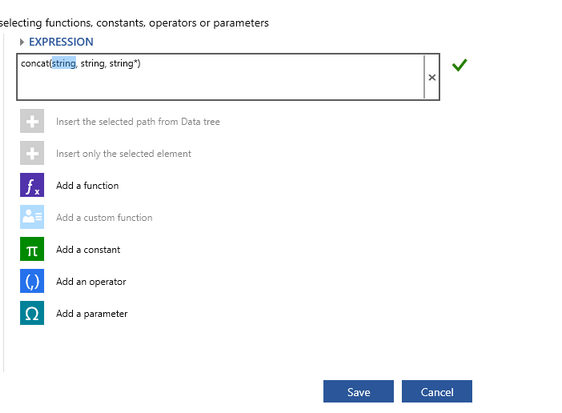
Figure 3: The concat() function is selected and automatically placed in the Expression Dialog.
6. Now you will need to combine some specific syntax with the field of your choosing. To complete this, you will need to highlight the first string and replace with the correct syntax. The standard declaration of source image requires: "data:image/imagetype;base64,imagestring". The image string we will obtain directly from our data source, so the first string we need to replace with the preceding syntax. Our image is a PNG image so we will use: concat("data:image/png;base64,",...). Notice how we included the comma at the end.
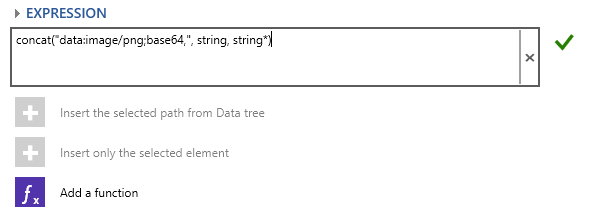
Figure 4: The first string is replaced with the correct syntax.
7. Next, highlight the second string in expression to replace. Select the Data Field in the Data Tree on the left side of the Dialog and double click. You will notice that the XPath Expression is automatically added into your function.
8. Delete any remaining strings as we only need two arguments in this function; the preceding syntax and the actual string from the data source.
9. Your results should look something like Figure 6. When you are satisfied, select Save and you will return to the Insert Image Dialog.

Figure 5: The function setup is complete.
10. Your results should look something like Figure 6. When you are satisfied, select Save and you will return to the Dynamic Source Dialog. From here select save and you will be returned to the Design View.
Figure 6: The function setup is complete.
Results and Testing
At this point, you will be returned to the Design Surface where you can still make specifications of dimensions and other options as highlighted in How to Insert a Static Image.
Notice in the Design Surface that your image is marked with a placeholder. This is because the Publisher does not yet know what image is to be used until the document is generated and the XML Data Source is evaluated to obtain the image. It is recommended at this point that you test the configuration of this dynamically driven image by previewing your output. If the configuration is correct and the image bytes are obtained from your data source, your image should be present in your output.
Figure 7: The image placeholder is displayed as the image is dynamic. |
Figure 8: The output reveals that the image configuration was successful. |