|
Installing Ecrion Omni System |


|
To install Ecrion Omni System, you will simply need to locate the downloaded installer and double click to run. The on-screen instructions will walk you through the following steps.
1. Double Click the Installer
You will notice the welcome screen for Ecrion Omni System is displayed. You will need to select Next to continue to the End User License Agreement.
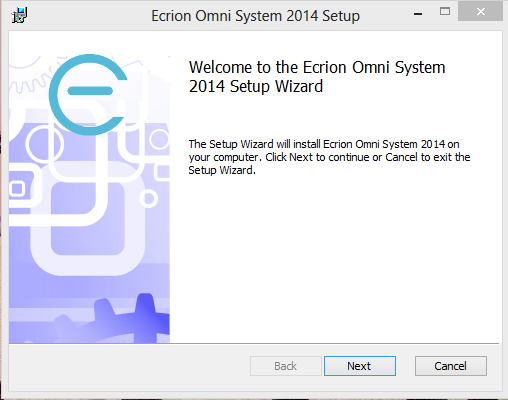
Figure 1: Ecrion Omni System welcome screen is displayed.
2. End User License Agreement
You will now need to read the End User License Agreement. Once you have read the entire content, select the acceptance checkbox and choose Next.
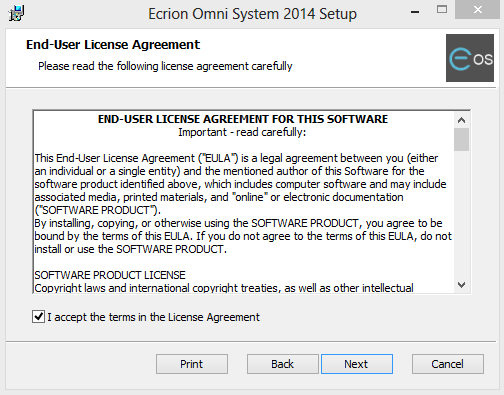
Figure 2: Review the End User License Agreement and accept.
3. Select Installation Folder
You will now need to specify the installation folder where you would like to install Ecrion Omni System. By default, the installation folder is C:\Program Files (x86)\Ecrion\Ecrion Omni System 2013\. You have three options as highlighted below.
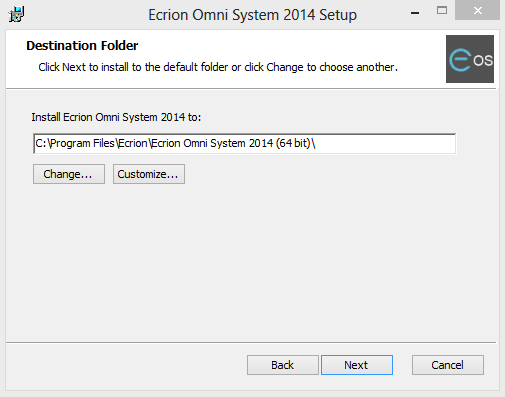
Figure 3: Change directory, customize, or select next to use default folder installation.
Option 1 - To install to the default folder as shown above in Figure 3, select Next.
Option 2 - To change the destination folder for installation, select Change and navigate to specify your folder.
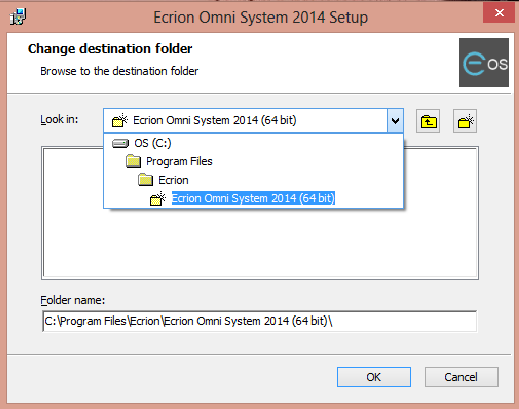
Figure 4: Select alternative folder for installation.
Option 3 - To customize the installation of Ecrion Omni System, select Customize and select features.
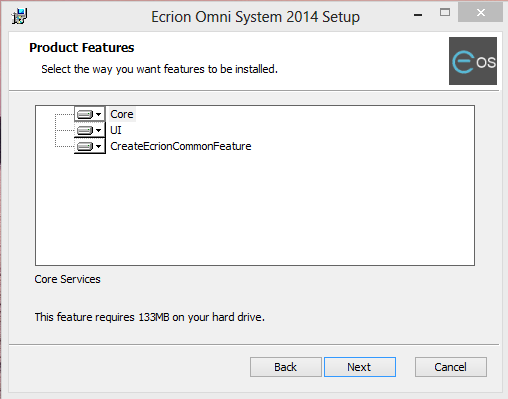
Figure 5: Customize installation of features.
4. Database Settings
The Ecrion Omni System repository uses an MSSQL instance. The next step requires you to choose the MSSQL instance that Ecrion Omni System will use for repository functions. Select Next when you are finished with your selection. NOTE: If you already have Ecrion Omni System Installed, and you are installing the newest version, you have the option to select "Use previous configuration".
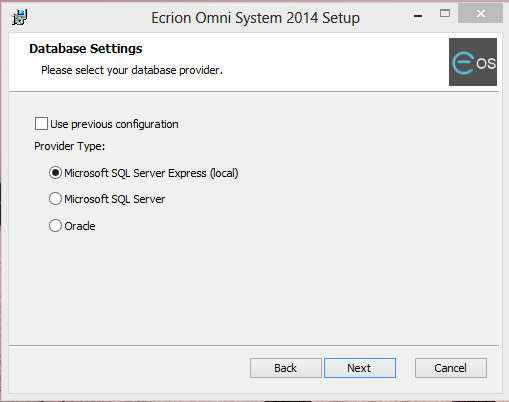
Figure 6: Select the MSSQL instance.
5. Select Authentication
Now you will need to select the authentication type. This should coincide with your configured authentication for the instance in MSSQL Management Console. You can choose Windows Authentication or use specific SQL Server Authentication. Select Next when you are finished with your selection.
|
|
Figure 7: The Windows Authentication options when configuring a local Data Base. |
Figure 8: The Windows Authentication options when configuring a non local Data Base. |
6. Website Settings
Enter some basic information about the website and website port. You must give your Ecrion Omni System Website a name. By default, EOS is used, however you can customize this by changing. Additionally, if you must specify a specific Website port, you can enter this value in this step. By default, the port 8091 is used. When you are finished, select Next.
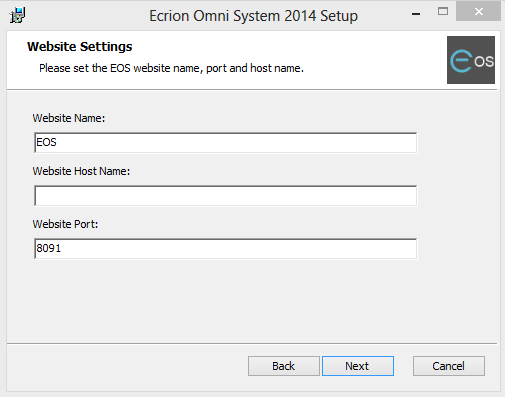
Figure 8: Website settings must be set.
7. Selecting Binding Type
After you have set up your Website name and port, you will need to choose if you wish to have a secured connection when accessing Ecrion Omni System through a browser or API. If you choose to have a secure connection select Enable Web Site SSL and select Install. NOTE: This is an optional configuration.
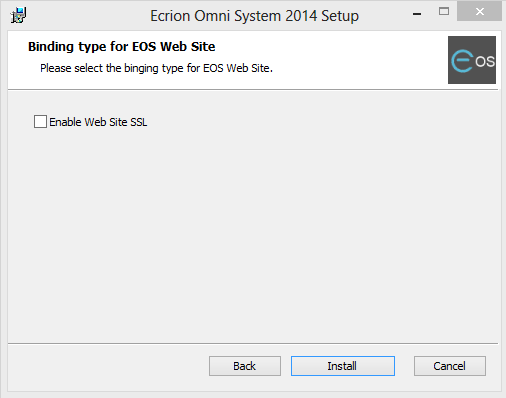
Figure 9: Select Binding type.
8. Installation
Ecrion Omni System will now install based upon your specified settings. This process may take a few minutes.
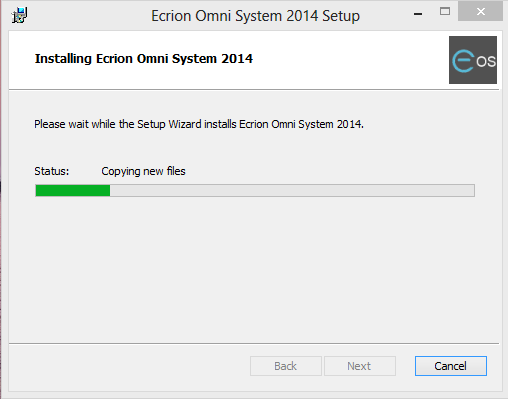
Figure 10: Installation status progress bar.
9. Installation Completion
The installation is now complete. You can check the View Readme checkbox to launch your default browser to view the Readme file. Select Finish when you are done. Next, be sure to follow the post installation steps before proceeding to Ecrion Omni System Home screen.
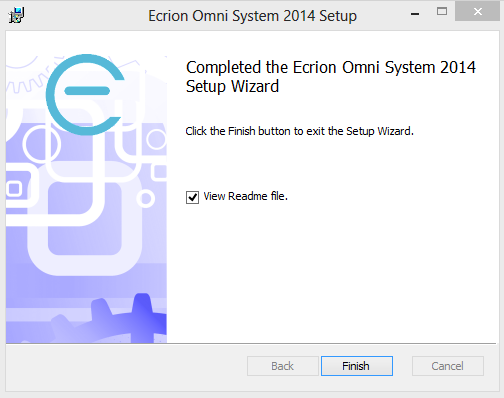
Figure 11: Select Finish to exit installation.