|
Inserting Images |


|
Using the Online Editor you have the ability to add images directly into your template. This section will highlight the steps needed to insert an image into your template.
For these objects, you will be provided with an additional dialog for file selection and more. You should be aware that for objects such as images and building blocks, you will need to first upload these items as project files in Ecrion Omni System first.
Inserting an Image
| 1. | In the Tool Bar select the Image button located in the Insert group. |

Figure 1: The Image button is highlighted in the Tool Bar.
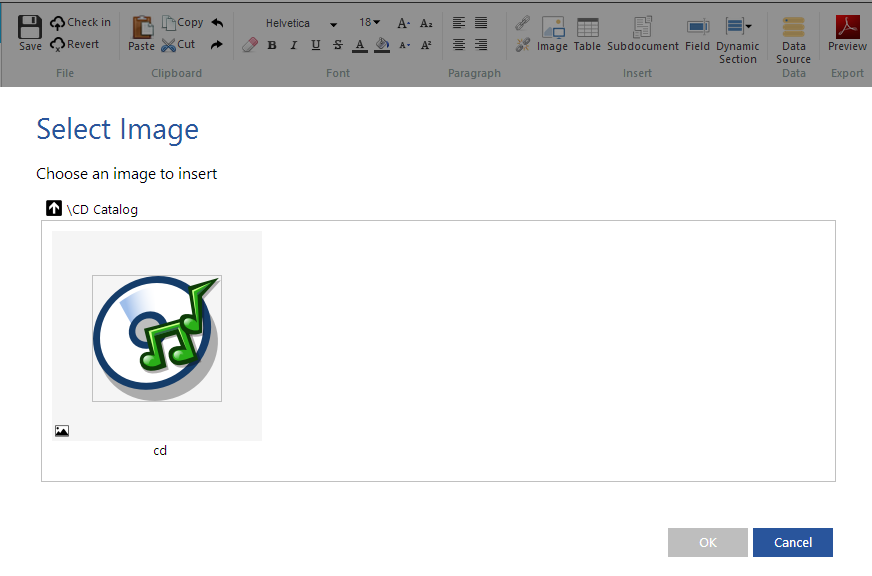
| 2. | After selecting the Image button, you will need to select which image you would like to insert and select OK. NOTE: You will first need to insure that you have images uploaded as project files. |

Figure 2: The appropriate image is selected.
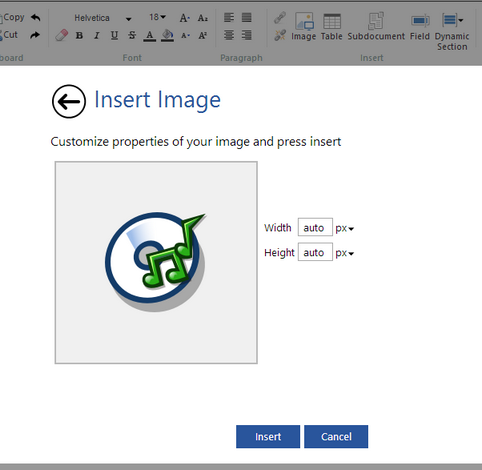
| 3. | Before the image is inserted into the template, you will have the option to choose what size you would like the image, and the unit of measurements used, or you may choose to leave the default value of auto. |

Figure 3: The image is set to the default value, auto.
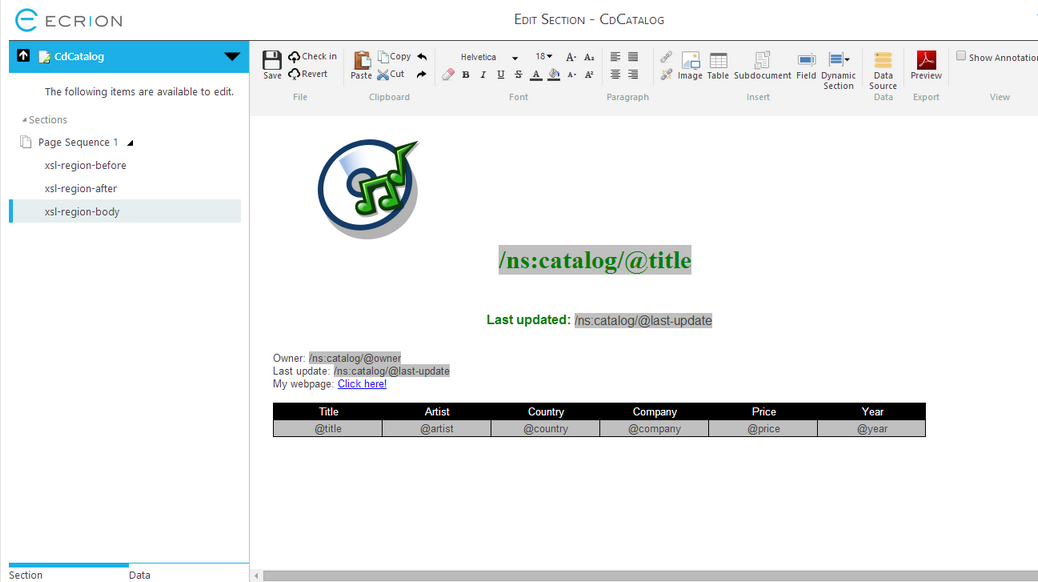
| 4. | Once inserted you can use the Paragraph alignment options to align the image. |

Figure 4: Template with image now inserted.