|
Uploading Files |


|
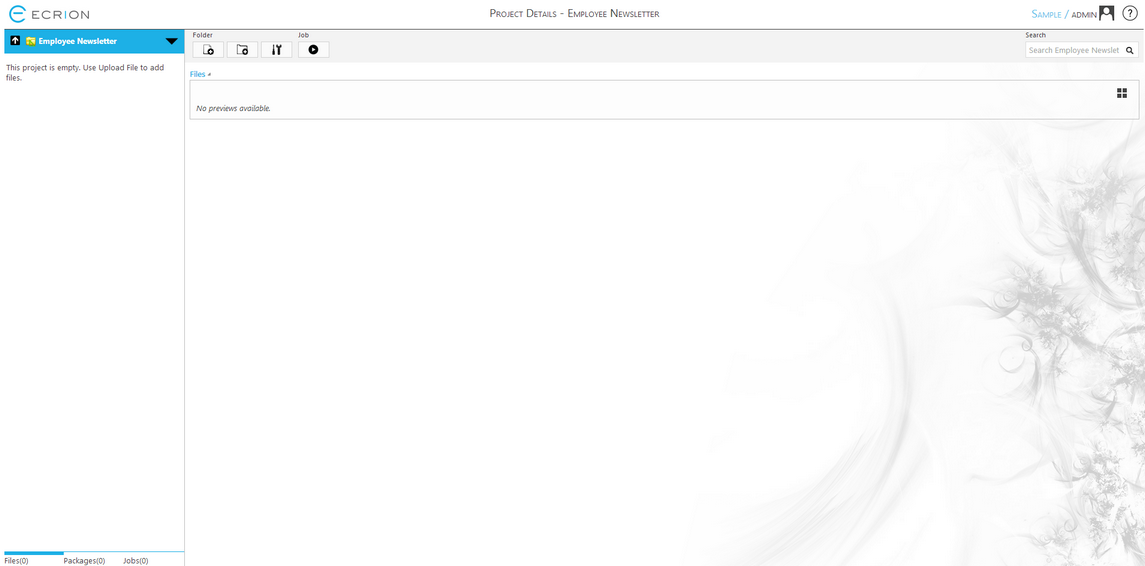
In order to add a file to any Project or Folder in Ecrion Omni System, you will need to understand how to use the Upload File Feature. This is often the first step in getting started when setting up your document production Projects, but this task will also prove to be necessary as you continue to add modifications to templates, add new data sources, and much more. For this example, we will simply start with a Project Folder with no files present. Notice in Figure 1, that in the Side Menu no files are present as well as in the Files View section of the Project Details page. Your first step will be to upload your necessary project resources and you will have the option to do so one at a time, or upload multiple files that are present in a ZIP File. In this section, we've highlighted how you can achieve both.

Figure 1: The Project Details Page displays a Project with no Files present.
Uploading a File
Locating the Button
Now that you've created your Project and are ready to upload your files, you will need to know where to find this option. In the Project Details Page you will notice the Toolbar provides icons in the Folder Group for both uploading a file and creating a new folder. The Upload File Button looks like a page with a small plus sign in front of it. In Figure 2, you will notice this icon present at the far left of the Toolbar. To upload a file to your Project or Folder, simply select this Upload File button located in the Toolbar.

Figure 2: The Upload Button is present at the far left of the Toolbar.
Using the Upload File Page
The Upload File page allows you to easily navigate to a single file for upload or to access a ZIP file for uploading many files at once.
| • | Single File Upload - If you are only uploading a single file, select the Choose File button to navigate your network or local machine and find the project file of your choosing to upload. Additionally, you can add a comment to note the purpose of the file or add other information for all users to review. You can also rename your file in Ecrion Omni System. Select Upload to complete this step in uploading your Project File. |

Figure 3: The Upload File page is used to select a project file for a project.
| • | Multiple File Upload - In many cases, you will want to upload many files (images, templates, data files, etc.) and it can be too time consuming to upload them one a time. For this need, you will also have the option to Import Zip. With this feature you can create a ZIP file and Ecrion Omni System can import all files located in this ZIP file. To use this feature, select Import Zip. You will only need to click Choose File to select your ZIP file and then select the Import button. Ecrion Omni System will automatically import all contained files directly into your Project Folder. |

Figure 4: The Import Zip page allows easy upload of many files.
Results
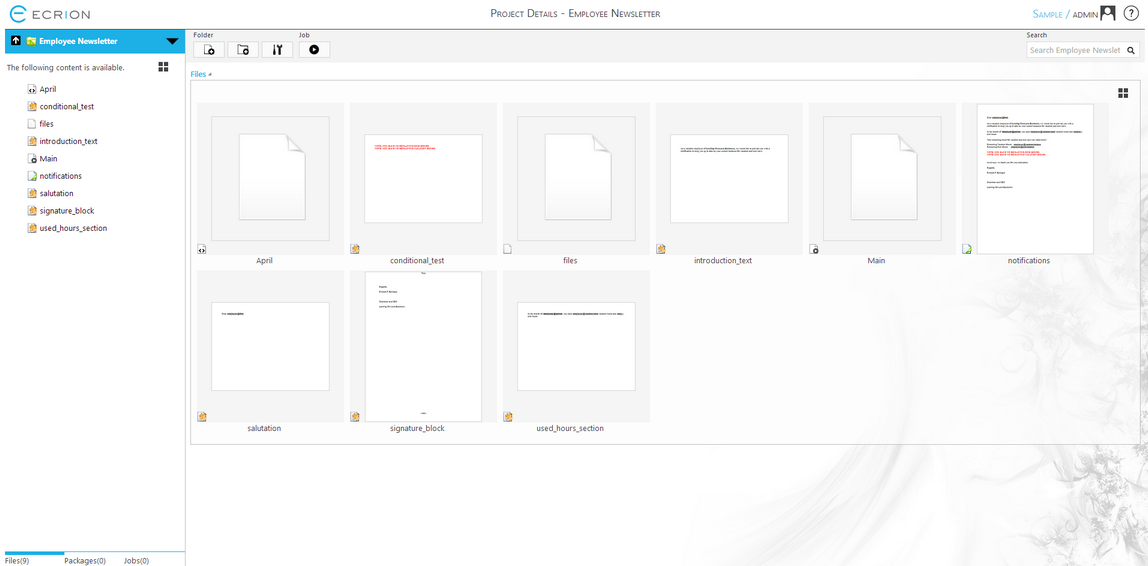
Once you have completed adding your files, you will now be returned to the Project Details page. Here you will notice that your uploaded Files should now be present in the Side Menu and the previews will be shown in the Files View. You should continue to upload your project files until all needed files are present in the Side Menu.

Figure 5: The uploaded project files are now present in the Side Menu and Project Details Page.
Additional Information
In addition to simply uploading files, you may want to read more about the behavior of uploading newer versions of already present files in the Versioning section of the help documentation. Once uploaded, you can also access these files for editing directly in Ecrion Omni System. You can learn more about editing in Ecrion Omni System in the Editing Files section of the help documentation.