|
How to Insert a Static Image |


|
|
How to Insert a Static Image |
|
A static image is one that you select as a constant image to be displayed in your document. This image will not vary with your data source but will remain the same for every output that your document template produces. Typically, you will simply browse to a location that the data source resides and select the image when inserting. At run time, the image will be referenced by the template and inserted into the document. The steps highlighted here indicate how to insert a static image into your document template.
Using the Insert Image Dialog
To insert a static image into your document template, you should follow these simple steps in the Insert Image Dialog.
1. Select the Image button from the Insert Tab in the Ribbon and the Insert Image Dialog will launch.
2. Select the Browse button and use the Windows Open Dialog to navigate to the appropriate local or network directory and select the image you wish to insert. A preview of your image will now be displayed in the Insert Image Dialog.
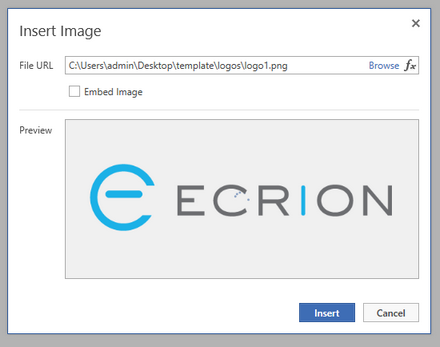
Figure 1: The selected image is now previewed in the Insert Image Dialog.
3. Select if the image should be embedded in the document. This feature is used if you wish to have the publisher convert your image to base64 encoding and embed in the template. If the image is embedded at run time, the server will not need to navigate a file system or network to retrieve the image to be inserted as it will already be embedded.
Completing the Process
Once you have made all of the necessary configurations, you will simply need to select the Insert button located at the bottom of the Insert Image Dialog. Your image should now be inserted into the document.

Figure 2: The image is inserted into the document template.