|
Image |


|
|
Image |
|
Images often can be useful for adding sharp graphic representations to your documents including company logos, icons, and other visual cues for your document recipients. With the Publisher, you can easily add images to your Document Templates. This section highlights how to add images and configure properties when working with them in your Document Templates.
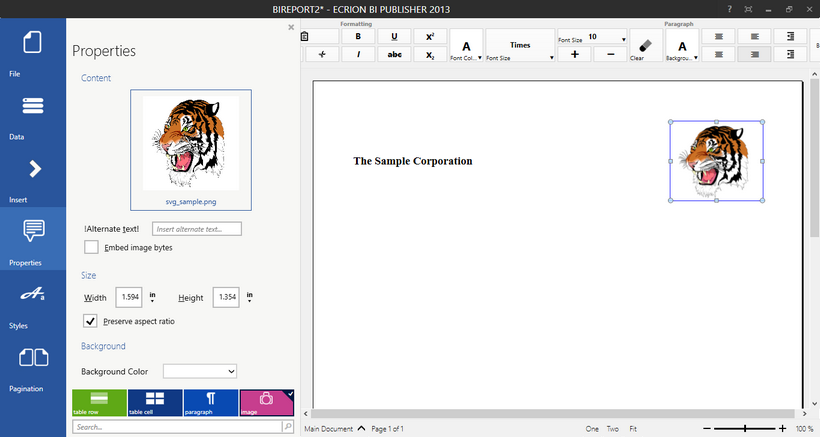
Figure 1: An image is inserted into the Design Surface.
Usage
You can easily add images into your Document Template by first selecting Insert from the Side Menu. From the Insert Dialog, select Image. You will now notice that the available configuration options for an image are available for you in the Insert Image Dialog. Use the example below and the following instructions to assist you in inserting an image of your own.
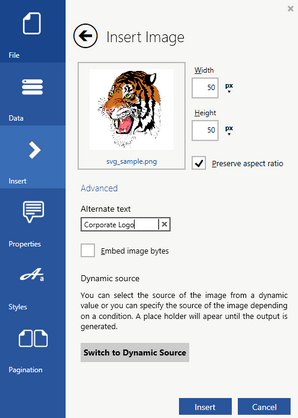
Figure 2: The Insert Image Dialog provides configuration options.
Getting Started
First, you will need to place the cursor at the location in the Design Surface where you would like to insert the image. You now need to decide if you would like to select a static image from a directory or choose to Switch to Dynamic Source to retrieve your image from your input data source or add conditions.
If you would like to select a static image from the a directory, select the Browse button to find the image of your choice. You will notice the image will be displayed in the preview window as demonstrated in Figure 2 above.
To the right of the preview image, you can modify the Width and Height of the image as you desire. You can also select the drop down menus to choose from unit choices that are available to you (px, pt, in, cm, etc...).
You can choose to preserve the aspect ratio by simply selecting the check box. This is useful for ensuring the image maintains its proportional relationship between width and height.
Advanced
You can add alternate text such as the example in Figure 2 where we have added "Corporate Logo". This text is useful if the image cannot be displayed for some reason and will convey information to the reader.
You can also choose to embed the image bytes. When this option is selected, the image is encoded and embedded in your output appropriately.
Using a Dynamic Source
You can also choose to Switch to Dynamic Source to retrieve your image from your input data source. This is a useful option that you can use to obtain the image URL from your data source or even obtain the image bytes if present in your data. Such a feature is useful when you are designing a document template that may require inserting targeted images from your data source.
Select Switch to Dynamic Source. Here you can select either a Data Field or a Conditional Field. A Data Field is the option you would select if you want to simply obtain the image source from your data. A Conditional Field is useful if you want to add a condition to which you would like to specify the source of the image.
The Data Field Selection will display all available fields in your data source for you to choose from. Simply navigate to the location of your image source, select, and choose Save. You should be aware that you can also select Create Expression to launch the Edit Expression Dialog.
The Conditional Field will display options to add conditions in the Conditional Field Dialog. You can specify the default image by selecting browse. Then you will need to select Add Condition and use the Edit Expression Dialog to create your condition. In the example below, we've added a default image from the hard disk and then specified a condition to test if a field is present in our data source. If so, we will use this field to get the image URL. Otherwise, the default image will be used.
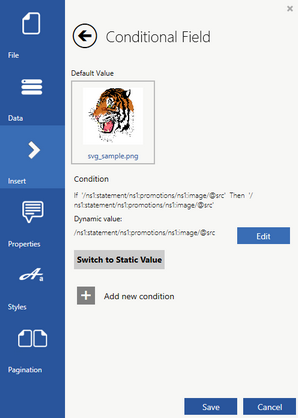
Figure 3: The Conditional Field dialog is used to conditionally display an image.
Please note that you can add as many conditions as you would like by repeating the steps above.
When you are satisfied with your image configuration, select Save and then Insert to insert the image into the Design Surface. You can always make adjustments to your image by selecting the image in the Design Surface and choosing Properties in the Side Menu. To learn more about available options with your images, visit the documentation section on Image Properties.