|
Form |


|
|
Form |
|
The Publisher allows you to insert powerful Form elements into your Document Templates that will allow your readers the ability to add and modify content to be printed, emailed to other recipients, or even captured and stored in a database. Forms are incredibly useful for allowing readers to interact with your documents whether simply allowing them to add content for their own reference or using them to trigger a process of data collection and processing. They also can be pre-populated with data from your data source.
You can easily work with creating Forms in your Document Template by using the Forms feature in the Insert Dialog. Below you can see a quick example of how a form will look in the Design Surface as well as the produced PDF output. This section is designed to assist you in inserting form elements into your Document Template as well as configuring them at any point in your document design.
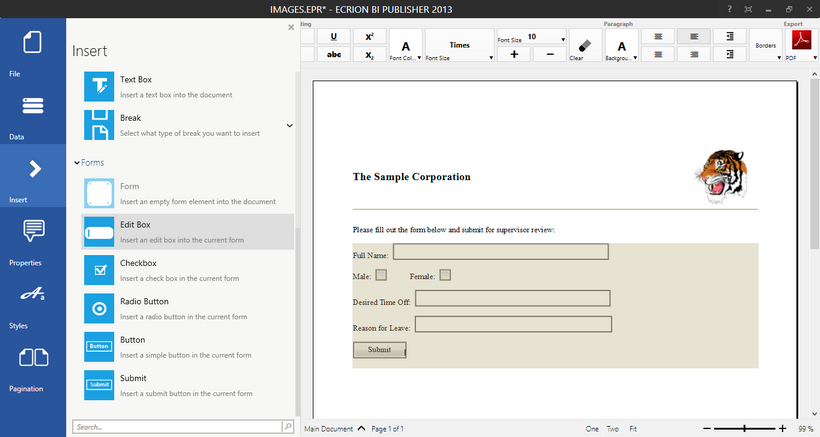
Figure 1: Form elements as present in the Design Surface.
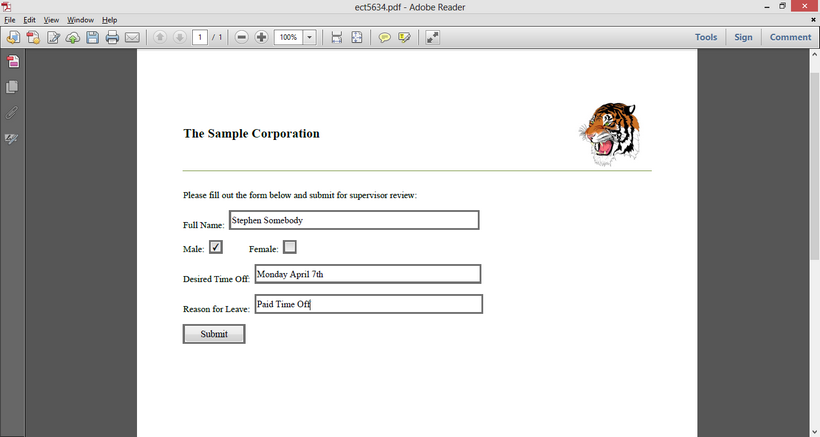
Figure 2: The output displaying filled in form fields. |
Usage
To begin working with From Elements you will first need to select Insert from the Side Menu to launch the Insert Dialog. By scrolling down, you will notice there is a section dedicated to working with Forms. To begin inserting Form Elements you will need to first select Form. You should now notice a gray paragraph block will be placed in the Design Surface. This gray block will be used to insert each Form Element and will be the space your Form consumes in your Document Template.
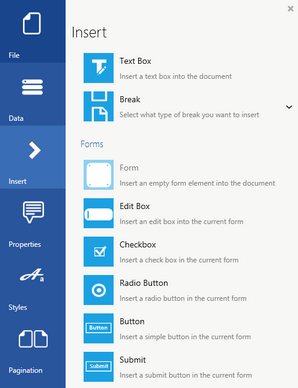
Figure 3: The Insert Dialog provides Form Element options for you to insert.
Available Options
Now that you have started the process of creating your Form, you can add static text to define what each Form Element is related to and insert different Form Elements that you would like to include. Below is helpful list of these available options to you.
| • | Edit Box - an edit box is useful for allowing your readers to add text values into the form. Here, a reader can type valuable information related to the instruction text you provide. You can also have these edit boxes display data directly from your data source. To configure such an option, you will need to access the Form Properties. |
| • | Check Box - a check box is useful for providing your readers with another way of answering yes or no. By selecting a check box, a check mark will toggle on or off to indicate yes or no appropriately in relation to the informative text. You can conditionally check or uncheck these boxes based on values in your data source. To configure such an option, you will need to access the Form Properties. |
| • | Radio Button - radio buttons can be very useful when providing a list of options for your readers to choose from. These are often used when you want your readers to be able to select one option to indicate this as the choice related to the form category information your are trying to capture. You can conditionally check or uncheck these radio buttons based on values in your data source. To configure such an option, you will need to access the Form Properties. |
| • | Button - buttons are used to customize actions in your form. You can specify operations in your form through advanced configuration of a button. An example of such usage would be performing a calculation to sum multiple form choices and display this value. These buttons can be customized using Form Properties. |
| • | Submit Button - a submit button is very useful for capturing the information that your readers have entered into your form. You can configure the actions of this button later using Form Properties. These options include what http method and URL to use. |
Helpful Advice
There are few different ways that you can build your Forms when working with the Publisher. We've highlighted a few of these structuring choices below. In either case it is advised that you provide clear and concise instructions to your readers within your forms. A reader should use the static text that your provide as guidance on what information they should add or specifically what they are choosing when selecting a check box or radio button.
You can use tables within your form to help you structure the Form Elements within the page. To do so, simply insert a table, use clear formatting, and use your cursor position to determine where you will be adding your text and each Form Elements.
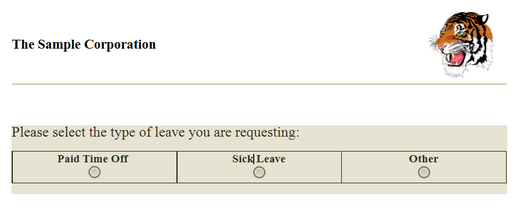
Figure 4: A Form uses a table to help structure the elements on the page.
Another useful option available to you is to Absolutely Position the Form Elements to meet your needs. This means that you can drag and drop the elements to the exact location that you would like. To do so, insert the Form Element of your choice, right click on that item and in the Application Bar, select Absolute Positioning. You will now notice that the Form Element is placed within a Block Container. Now you can move your mouse over the Form Element to see the four way arrow indicator and then select and drag the item to the location of your choosing.

Figure 5: A form element is placed within a block container using Absolute Positioning.
When you have completed adding your Form Elements and informative text, you can test your output by using the Toolbar to Preview in either PDF or HTML output formats. You can learn more about editing the individual Form Elements by visiting the Form Properties section of the help documentation.
You should keep in mind that options such as populating your Form Elements with data from your data source are available in the Properties section as well.