|
Dynamically Mark Check Boxes |


|
|
Dynamically Mark Check Boxes |
|
You can set up your Check Boxes to be checked or unchecked depending upon a test of your data source.
1. In the Design Surface, double click on the Check Box you wish to modify. The Properties Pane will now be displayed.
2. Select the All Menu from the top of the pane and select the Dynamic Value button to the right of the Checked field.
3. From the Property Dialog select the Select Property button.
4. Select the Add rule button to create a condition.
5. In the Create Condition Dialog, select the Add new condition button.
a. Select in the Data Tree the data value to base your condition on.
b. Then, choose your type of condition based on available options for based on occurrence, numerical value, or text value.
c. Then specify the details of your condition for contains or starts with using the drop down menu available and then add the value to test for. You can create more complex conditions manually by selecting the Create Expression button. When you are finished configuring your condition, select Save.
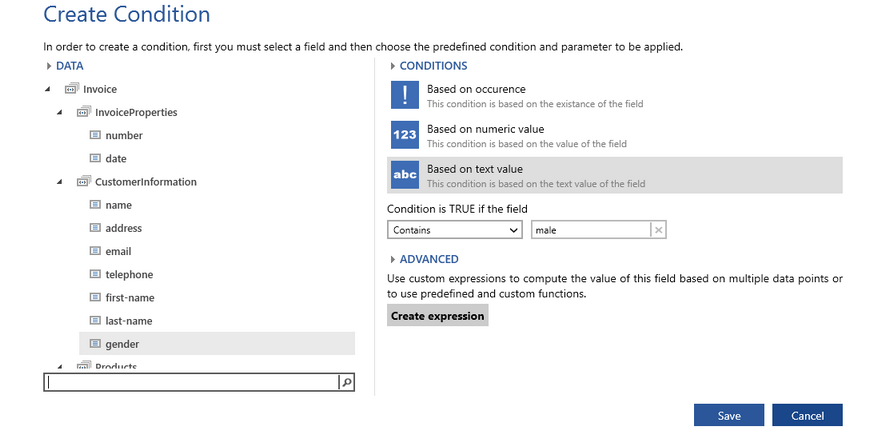
Figure 1: The condition is set up to test the gender attribute.
6. You will be returned to the Dynamic Property Dialog. Here you must specify to use a static value by using the drop down menu, or select Dynamic Value button to obtain the property value from your data source. For this example, when the gender is set to "male" we will want the check box "checked" property to be set to true.
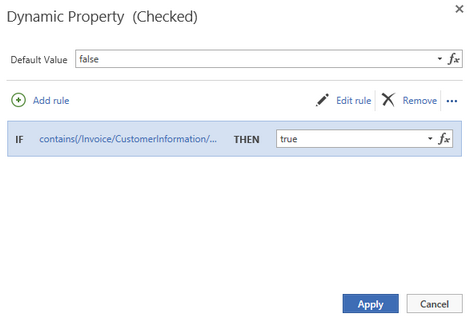
Figure 2: The value is specified for when the condition is true.
7. Next, preview your output to test the behavior of your condition. You can modify the data source to different values to test and ensure the condition evaluates properly.
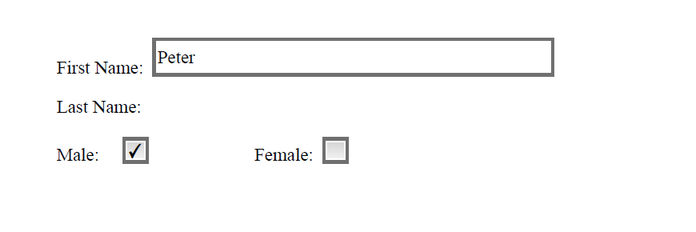
Figure 3: The output reveals the condition evaluates properly and checks the Check Box when the attribute value is "male".