|
Changing the Column Count |


|
|
Changing the Column Count |
|
You can adjust your layout to support multiple columns within your document where content will flow from one column to the other. To adjust the columns in your layout, use the following instructions.
1. In the Page Layout Tab of the Ribbon, select the Columns button. You can select from One, Two, or Three columns to apply. You will now notice your selection will be applied and in the Design Surface the columns will be present.
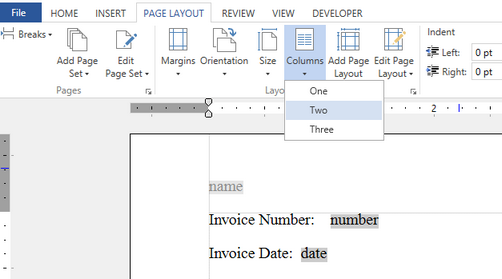
Figure 1: The Columns button provides access to quickly change the number of columns in your document body.
2. If you would like specify a different number of columns other than the available options, select the Expand button located at the bottom right corner of the Layouts Group in the Page Layout Tab. This will launch the Pagination Pane.
3. In the Pagination Pane, select the Layout you wish to modify and you will notice a Options Menu to the right of your selection.
4. Select the Options Menu to reveal more options. Next, select Edit Properties.
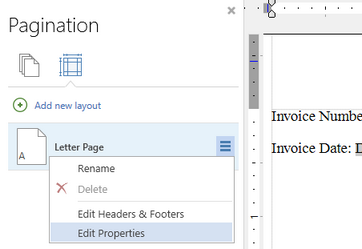
Figure 2: The Edit Properties option is located by selecting the Options Menu.
5. Next, select the Regions Menu located at the top of the Edit Layout Dialog.
6. Choose Body in the Select Regions menu.
7. In the Columns Group, specify the number of columns you wish to have present in your document as well as the column gap if applicable.

Figure 3: The columns are adjusted for six columns on the page.
8. When you are finished with your configurations, select Save to apply your changes to your Layout.