|
Applying Your Styles to Content |


|
|
Applying Your Styles to Content |
|
The Publisher comes with a default stylesheet you can use when designing your document templates. You can utilize this stylesheet or create or assign your own stylesheet. To apply the styles to your content, you have two options as highlighted below.

Figure 1: The Style Group provides available styles to choose from for application.
Using the Ribbon
1. In the Home Tab of the Ribbon, locate the Style Group. Notice how you have a selection of available styles to apply to content in your document template.
2. Place your cursor in the paragraph or select or highlight the object you wish to apply the formatting to in the Design Surface. If you have a style that is designed for a table cell, then the table cell should be selected.
3. Single click on the desired style in the Ribbon. You will notice that the formatting is automatically applied.
4. Preview your output to view the results.

Figure 2: The output reveals the applied style.
Using the Styles Pane
1. In the Home Tab of the Ribbon, locate the Style Group and select Manage Styles. From the contextual menu select the Manage Styles option, this will launch the Styles Pane.
2. In the Styles Pane, you will notice the available Styles to apply. You will see the name of the style is present as well as a preview of the formatting that is associated with this style.
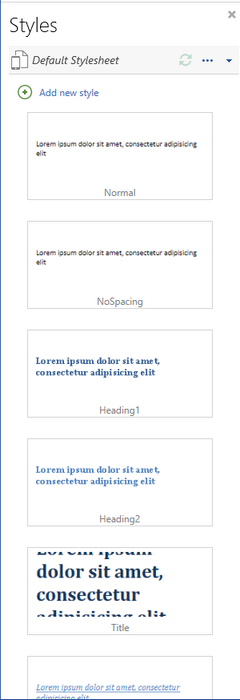
Figure 3: The styles available are previewed in this Pane.
3. To apply a style to your content, place your cursor in or select the desired content to format in the Design Surface. Then, simply select the Style to apply in the Styles Pane. You will notice that the formatting associated with the Style is automatically applied to the content in the Design Surface.
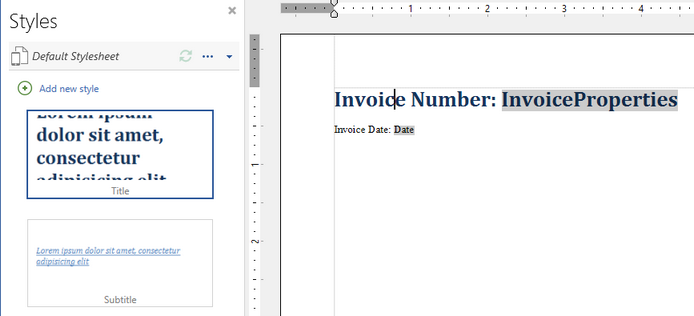
Figure 4: The Title Style is applied to the selected paragraph in the Design Surface.