|
Row and Column Group Options |


|
For every row or column group that you add you will have the following configuration options.
1. You have the option to toggle on or off having the selected row or column included in the widget marking by selecting or de-selecting the Insert into widget marking button.
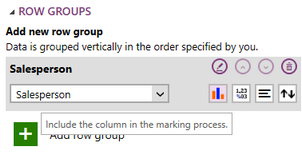
Figure 1: The widget marking button has been selected for this row group.
2. Select the row or column format button to format the data of the field that will populate the selected row or column. You can choose from one of the default formats or you can create a custom one as you see fit.
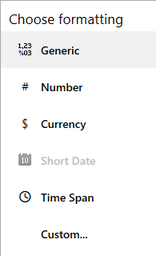
Figure 2: The options for field formatting.
3. Select the text align button and choose from one of the available options, Left, Right, or Center, by default all text will be Left aligned.
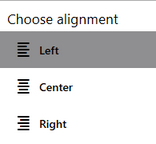
Figure 3: The text alignment options.
4. If needed you also have the ability to sort a selected row. NOTE: This option is only available for Row Groups. You will be able to adjust the sort for every row group as these will be sorted independently of each other.
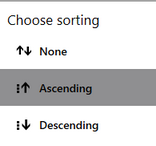
Figure 4: The options for sorting the column data.
5. Select the Rename button to edit the row or column name. By default the row or column name will be the name of the field selected.
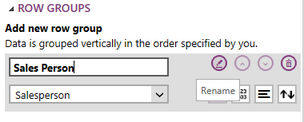
Figure 5: The rename button is highlighted for this row group.
Next Steps
Cross Table Properties - Learn about how to edit and customize your chart after inserting it into the design surface.