|
General Dashboard Setup |


|
It is important that you think about the size and behavior of your dashboard before and during the design process. In this section you can learn about giving a name to your dashboard and modifying the overall size of the dashboard, to customize the dashboard to your needs.
Using the Properties Pane
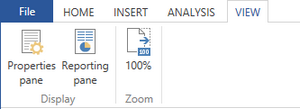
From the Properties Pane you are able to name and resize your dashboard, to meet your needs. You can access the helpful Properties Pane as follows:
| 1. | Navigate to the View Tab in the ribbon. |
| 2. | Select the Properties Pane button. |

Figure 1: The Properties Pane is located in the View tab.
| 3. | Select the dashboard element from the Navigation bar. |

Figure 2: The dashboard element is highlighted in the Navigation bar.
Dashboard Naming
The BI Architect will create a generic title name for your new dashboard, every time a new dashboard is created. It is very common to need to change this title to give more meaning to your dashboard.
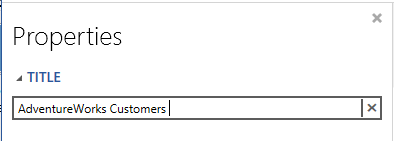
Make sure the Title option is expanded, and enter the desired title for the dashboard.

Figure 3: We have titled this dashboard AdventureWorks Customers.
As you can see when you preview your output the title will be located to the top left of your dashboard.

Figure 4: The view of the title when the output is previewed.
Dashboard Resizing
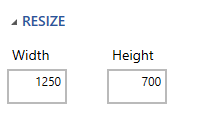
By default the BI Architect sets the size of every dashboard to be 1250 x 700. You are able to easily resize your dashboard to meet your specific needs.
Make sure Resize option is expanded and enter the dimensions that will suit your needs.

Figure 7: The Resize group located in the Properties Pane.
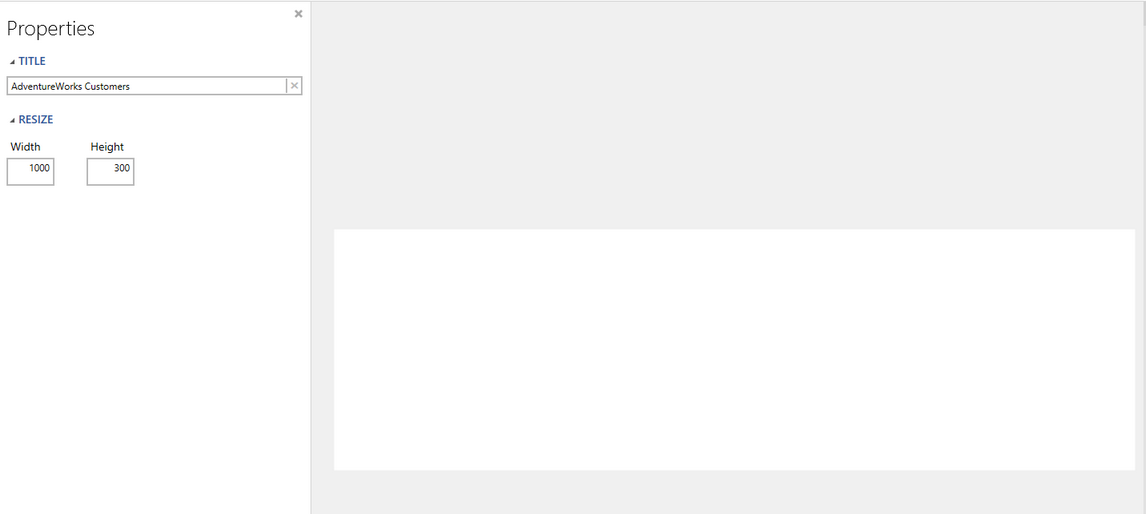
You will notice the dashboard in the design surface will reflect any size changes you make.

Figure 8: The view of the design surface after the dashboard has been resized to 1000 x 300.
Once you have named and resized your dashboard you can use the following links to create and customize your dashboard specifically to your needs.
Related Topics:
Connecting to a database: When you are creating your dashboard you will always need to connect to a BI Server In-Memory Database.
Inserting Widgets: When you are ready to start building your interactive dashboard, you will need to insert different Visualization and Filter Widgets. To learn more about the types of widgets and how to insert them into your dashboard visit here.
Dashboard and Widget Behavior: It is also important for you to understand exactly how your widgets will act in your dashboard when your dashboard is resized.
Adding Pages: Pages are useful if you would like to group your widgets based on your viewers' needs.