|
Working With Package Files |


|
You will most likely want to open and access the Project Files that are a part of any particular Package. This is especially important when you are assigned tasks as a part of a Review and Approval Workflow. You may need to open a particular Package, investigate a specific template modification, and then approve.
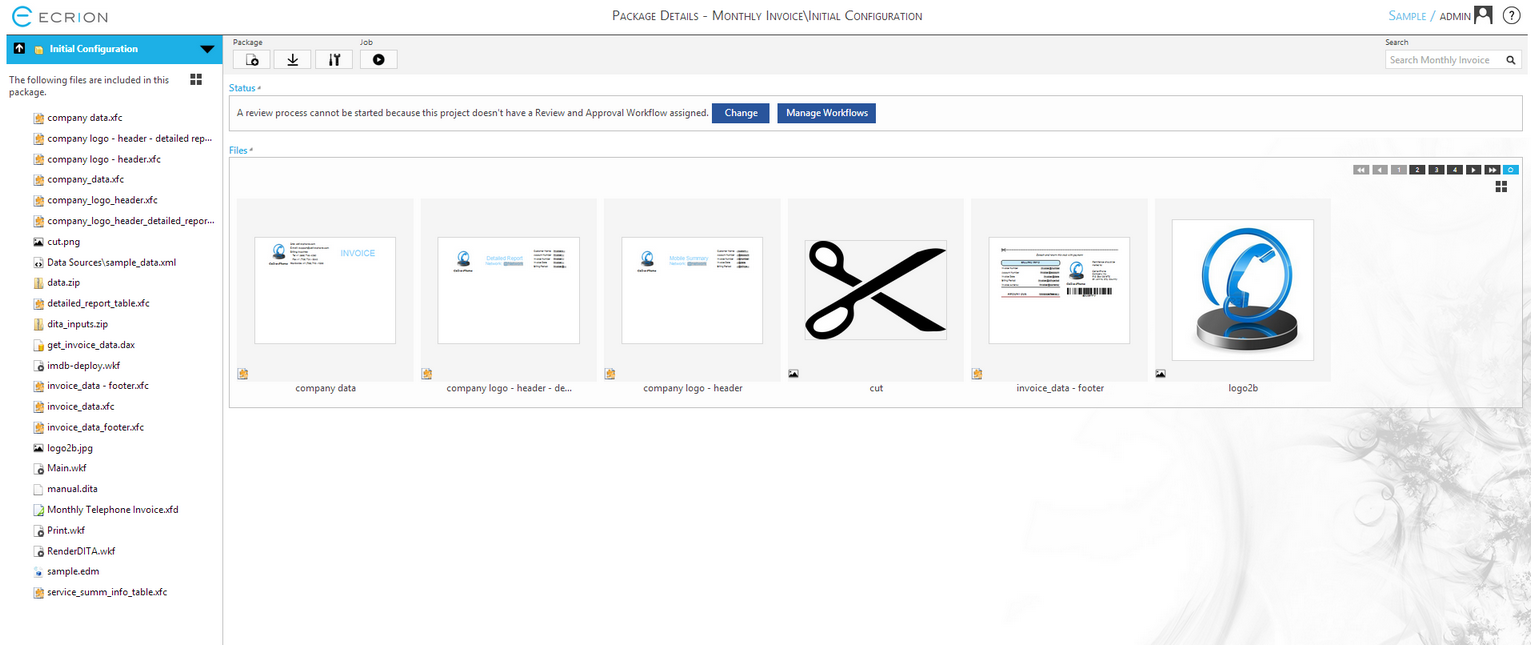
First, you will need to select the Package you would like to work with either in the Side Menu, or by selecting in the Package View details window. You will then navigate to the Package Details. Within this page, you can notice the Project and Package Name listed at the top as well as all of the Package Files available in both the Side Menu and the Details Window.

Figure 1: The Package Details page displays Package Files as well as other information.
Including New Files
You can include additional files by selecting the Include File Button located in the Toolbar. This button appears as a file with a plus sign in front of it.

Figure 2: The Include File Button is present in the Toolbar.
Once you select this button, you will navigate to the Include File Page. Here Ecrion Omni System will provide you with a drop down menu of all available Project Files that are currently not a part of this Package. You will simply need to select from the down list the Project File which you would like to now include in the Package. When selected, choose the Include Button to add the selected file to your Package.

Figure 3: The Include File page provides a drop down menu to select the file you would like to include.
Working With Current Package Files
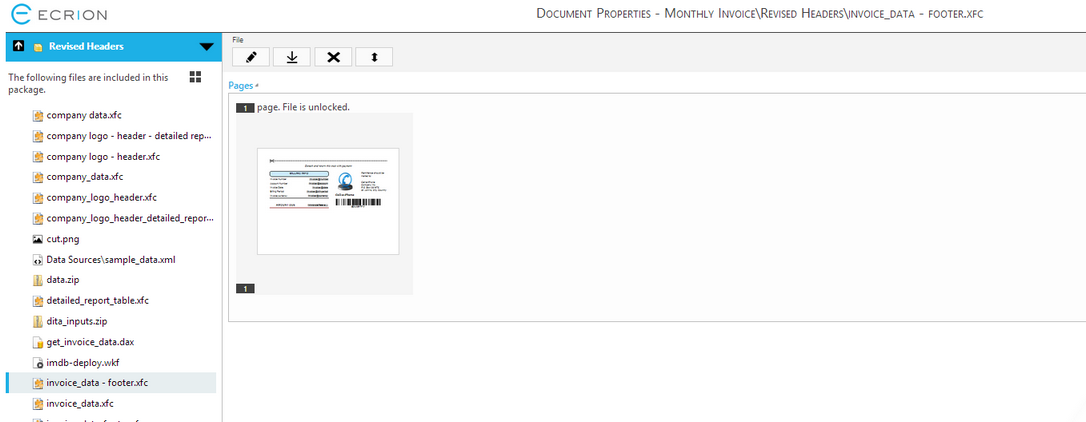
When you are working in the Package Details Page, you will notice that the Side Menu will display available Package Files and also in the details window you can access these files as well. By clicking on any of these files you will navigate to the Document Properties page. Here we will discuss the options available to you when working with your current Package Files.

Figure 4: The Document Properties page shows available options for a selected Package File.
Exclude Files From Packages
You can exclude a file from the current Package in the couple of ways.
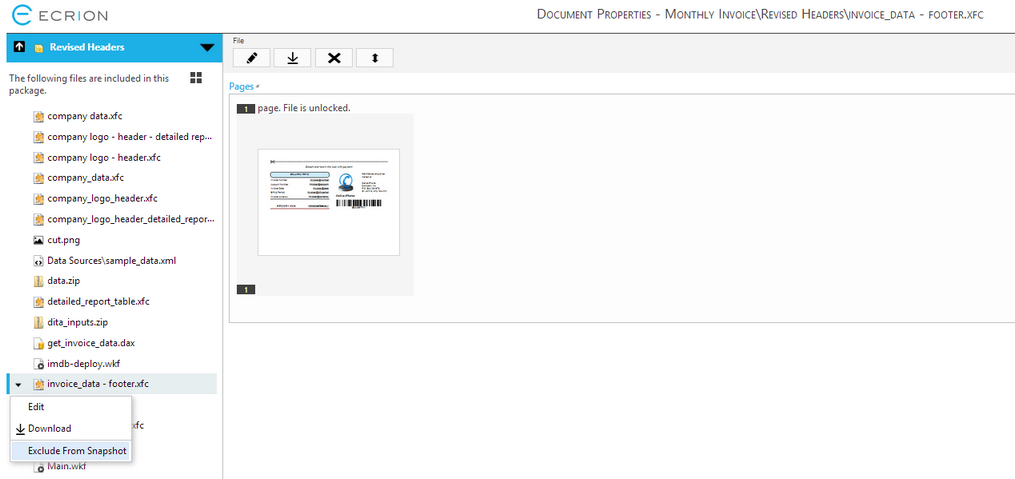
Using the Side Menu
| • | In the Side Menu, mouse over the desired Package File. |
| • | Select the down arrow to the left of the file name. |
| • | Select Exclude From Package. |

Figure 5: The Side Menu is used to Exclude a file from a Package.
Using the Toolbar
| • | In the Toolbar of the Document Properties Page, locate the Exclude Button noted with an 'X' and select. |

Figure 6: The Exclude Button is used in the Toolbar to exclude the current file.
Upgrading and Downgrading Versions
You might find that you wish to upgrade or downgrade individual file versions when working in your Package. This can be useful, for example, if a specific is edit is made to a file and you wish to promote that edited version to your snapshot for testing. Here you can find information on how to accomplish this objective.
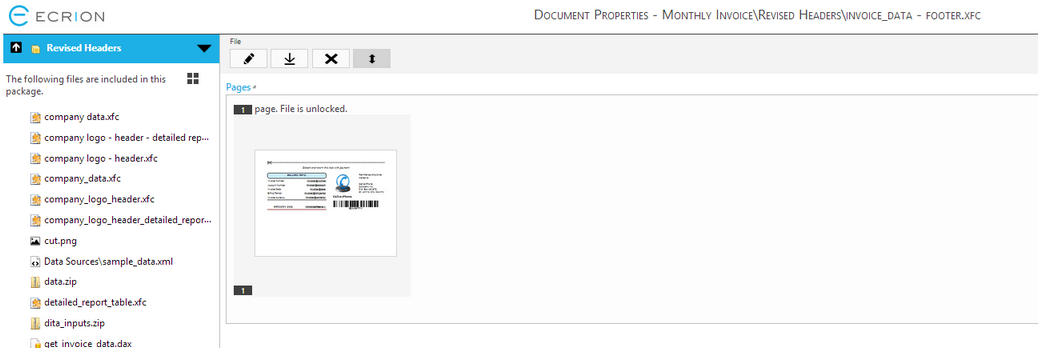
| • | First, locate the Upgrade/Downgrade Button located in the Toolbar of the Document Properties Page and select. |

Figure 7: The Upgrade/Downgrade button is located in the Toolbar.
| • | Next you will navigate to the Upgrade/Downgrade Package File Page. |
| • | Notice that the available File Versions are listed for your review in the Details Window. |
| • | You will need to type the version you would like to use in the File Version field and select OK. |

Figure 8: The Upgrade/Downgrade Package File page allows for manual selection of which version to be used.
Select any Version Number to access options including the option to download and review that Version of the Project File. At the top of the screen, the current Version Number that the Package is using will be displayed.