|
Working With Jobs |


|
Whether you are choosing to run your project on-demand, on a schedule, or simply test by running a job, you can access your Jobs and view the outputs and logging information for any Job Run. To access your Job Runs, you will need to select the Jobs Tab located in the bottom on the Side Menu for your desired Project.

Figure 1: The Jobs Tab can be found at the bottom of the Side Menu when working in a project.
More on the Jobs View
You should notice that when selecting this tab you will now be viewing the Jobs View of the Project. Some key information can be obtained from the Jobs View.
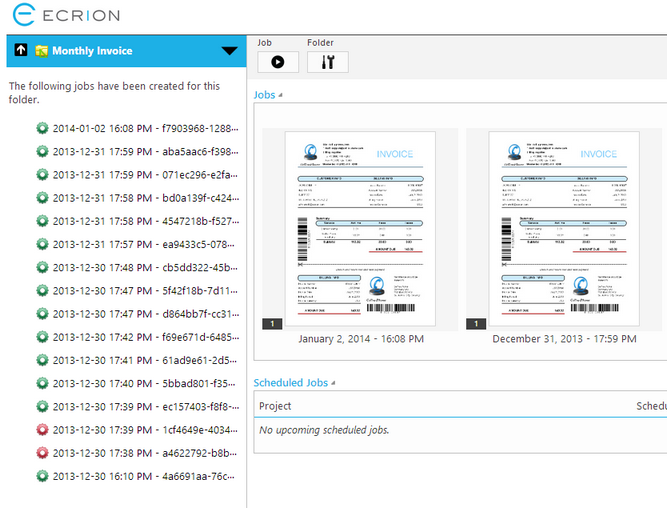
| • | All previous jobs are listed in the Side Menu. |

Figure 2: Previously run jobs are accessible in the Side Menu.
| • | Previously run jobs are accessible in the details window. |
| • | Currently scheduled jobs are listed in the details window. |

Figure 3: Previous jobs and Scheduled Jobs are present in the Details Window.
Accessing a Job
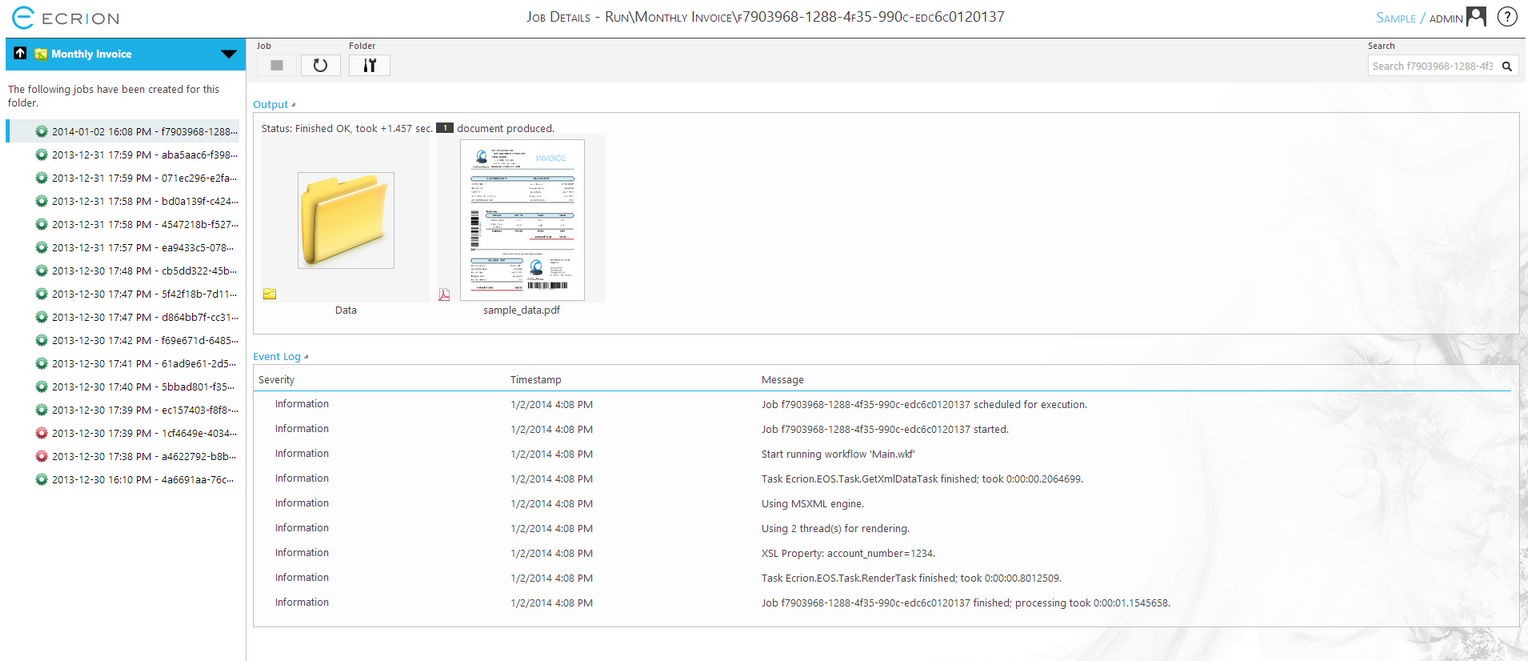
To access a previously run job, simply select the job in either the Side Menu or the Details Window. When selecting a job, you will now navigate to the Job Details Page which will display the job outputs as well as the Event Log for your reference. You can select any of the produced content from the job in the Output Section, and any provided document is available for download by selecting.

Figure 4: The Job Details Page provides outputs access and important logging information.
Running a Job
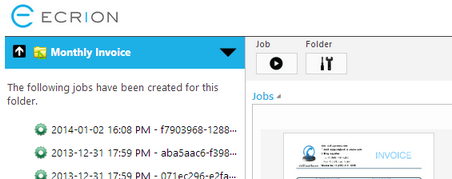
In any of the three Project Views (Files, Packages, and Jobs), you will notice in the Toolbar, the Run Job Button. This button is in the form of a icon with a circle and an arrow in the middle. By selecting this button, you will navigate to the Start Job Page.

Figure 5: The Run Job button is present in the Toolbar.
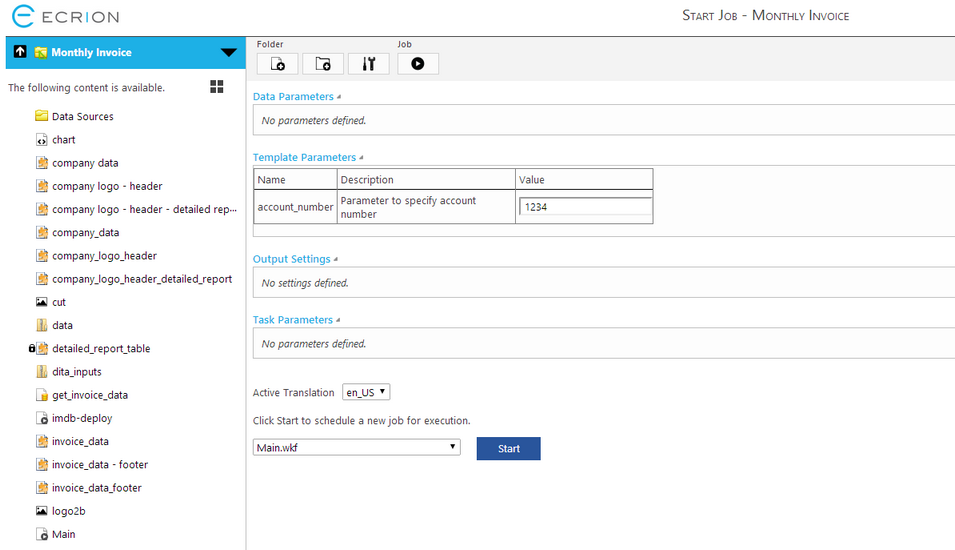
The Start Job Page will allow you to specify all relevant information needed to run your job. Most commonly, if you have configured parameters for any given Workflow, you can specify such parameters here. To begin you will need to:
| • | First, select the Workflow or Package that you would like to use for this Job. |
| • | You will notice that any previously configured parameters will be displayed above. |
| • | You will need to define any required parameter information present, if applicable. |
| • | Specify translation if option available for this project's template. |
| • | Select Start to initiate the job. |

Figure 6: The Start Job Page allows for Workflow or Package selection as well as parameter configuration.
Once you trigger a job, you will notice in the Side Menu your new job will be present and, if running, indicated with a different colored icon. In addition, you will navigate to the Job Details page where you can view your results as well access important logging information. Additionally, you can Restart the job at any point by selecting the Restart Button located in the Toolbar. This button icon is in the form of a continuous arrow in circle form.

Figure 7: The Restart button is located in the Toolbar.