|
Copy to Folder |


|
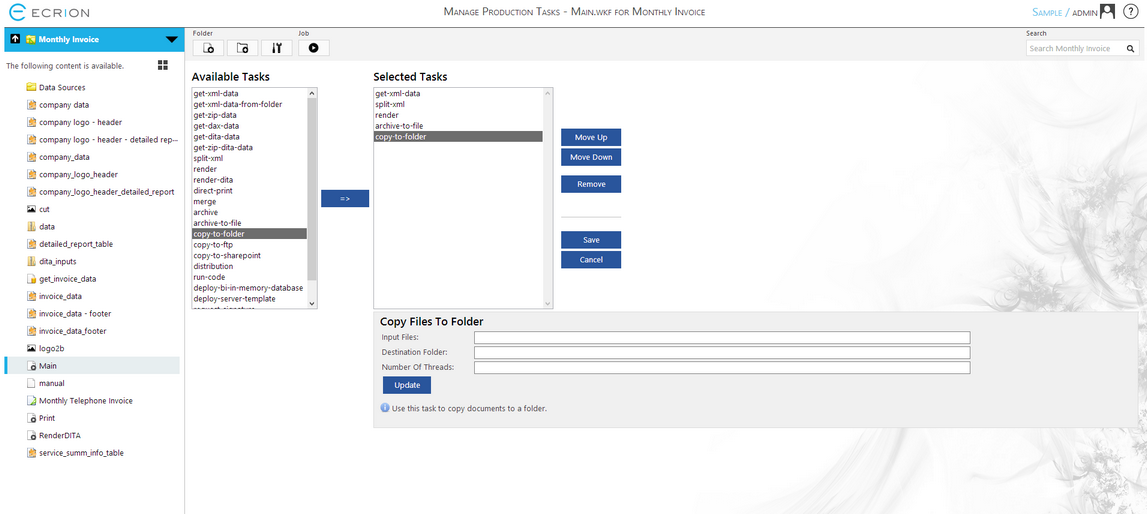
The copy-to-folder task allows you to send any project files to a destination folder either locally or on a network path accessible to the machine Ecrion Omni System is installed on. With a few simple steps you can configure this task in your workflow to place input and output files where you would like them after processing.

Figure 1: The copy-to-folder task is selected in the Selected Tasks window.
Configuration
By selecting the copy-to-folder task in the Selected Tasks window, you will have access to the configuration menu below. Here we will highlight the steps you need to take to configure this task to meet your needs.

Figure 2: The configuration menu for the copy-to-folder task.
| • | Input Files - Here you will need to specify which files to copy to another folder. This can be any file type produced in your workflow. The example in Figure 2 demonstrates the configuration to take any ZIP file produced in this job and copy to our specified directory. |
| • | Destination Folder - In this step you need to specify either a local or network directory. You will either need to use network path or local directory addresses to accomplish this. In our simple example, we have specified a local directory to copy our ZIP files to. |
| • | Number of Threads - Here you can specify the number of threads Ecrion Omni System will use to complete this task. For larger jobs, manually changing the threads here may have a performance impact. |
You can now proceed with configuring your other workflow steps, but do make sure to select Update to ensure your changes are committed. If you finished configuring the Job, select the Save button in order to save all the settings for the Job.