|
Structural Formatting for Fields |


|
|
Structural Formatting for Fields |
|
It is often the case that your data will not possess the actual formatting that you want it to be displayed with in your output. A common example of this is taking a numerical price value located in the data source and adding the appropriate currency for this Field. Another being taking a date in the XML Standard format and changing to a format of your specification. In this section we will explore exactly how you can format the structure of your data presented in the output.
Accessing the Formatting Dialog
There are three primary access points for the Formatting Dialog to make structural formatting changes to your field's output.
Right Clicking On Your Field
You can access the Formatting Dialog by simply right clicking on the Field that you would like to format in the Design Surface. You will be presented with a contextual menu and here you can simply select Format.
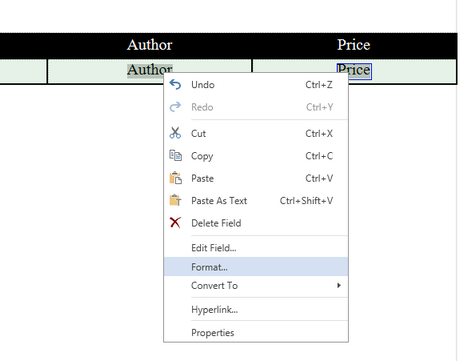
Figure 1: By right clicking on the field, the Format option is available.
Accessing in the Dynamic Tab
You can access the Formatting Dialog for your Field in the Dynamic Tab by using the following steps.
1. Select the Field you would like to format.
2. In the Ribbon select the Dynamic Tab.
3. In the Formatting Group you will have quick access formatting options such as, Currency, Percent and Date/Time.
4. Select the expand button, to access the Formatting Dialog.
Accessing in the Home Tab
You can access the Formatting Dialog for your Field in the Home Tab by using the following steps.
1. Select the Field you would like to format.
2. In the Ribbon select the Home Tab.
3. In the Formatting Group you will have quick access formatting options such as, Currency, Percent and Date/Time.
4. Select the expand button, to access the Formatting Dialog.
Using the Formatting Dialog
In the Formatting Dialog you will be able to easily change the structure of your data source values to be presented the way you intend in your output. Here you can learn about how to use the Formatting Dialog to accomplish these objectives.
1. To begin, select the type of formatting you wish to apply to your Field. Available options include, Number, Currency, Data/Time, Phone Number, Language Specific, and Custom formatting.
2. Upon selecting the type of formatting to apply, options will be displayed related to the choice in the right side of the Dialog.
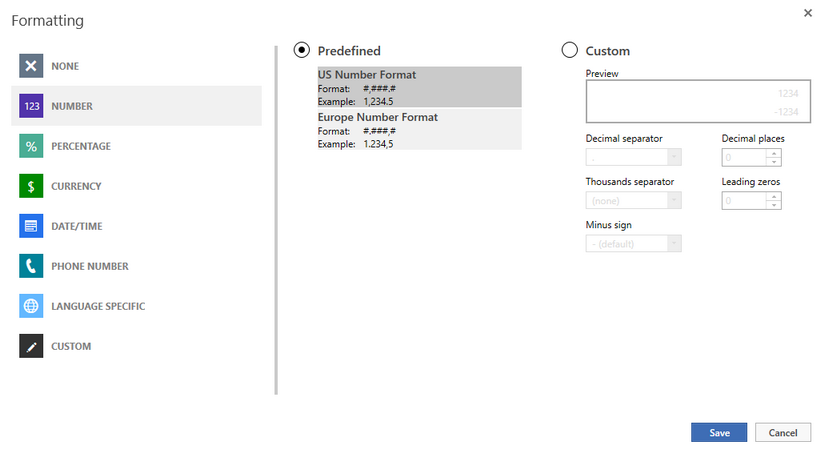
Figure 2: The Formatting Dialog updates to display options related to the selected formatting type.
3. For any selection, you will be given two options: to select a predefined format or to create a custom format. Predefined formats will be highlighted with the format and an example. Simply make the predefined selection of your choosing if your desired format is available.
4. To create more custom formatting, first select the Customer Radio button to enable these options and choose from a variety of options related to your formatting type. In this example, we'll change the number formatting for our field to have two decimal places. You will notice in the Preview Dialog that the applied formatting will be previewed as you make adjustments.
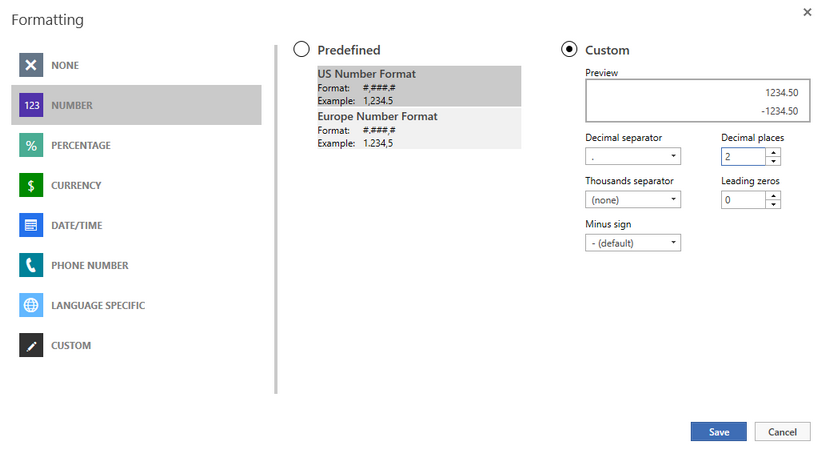
Figure 3: Custom number formatting is applied for the field.
5. Once you have completed your formatting specifications, select Save and you will be returned to your work in the Design Surface. By previewing your output, you can notice the appropriately applied formatting.