|
How to Create a Conditional Paragraph |


|
|
How to Create a Conditional Paragraph |
|
To insert a Conditional Paragraph, follow the instructions provided below.
1. In the Insert Tab in the Ribbon, select the Conditional Paragraph button.
2. Next, you will be presented with the Insert Conditional Paragraph Dialog where you will need to set your initial condition. The steps below will walk you though creating the first condition.
a. Select in the Data Tree the data value to base your condition on. In this example, the "show-discount" attribute will be used. Your selection in the Data Tree will be highlighted for visual reference.
b. Then, choose your type of condition based on available options for based on occurrence, numerical value, or text value. In this example, we want to test to see if this attribute contains the value "true" or "false" so we have chosen Based on Text Value.
c. Then specify the details of your condition for contains or starts with using the drop down menu available and then add the value to test for. Here we have added "true" by typing in the value field. You can create more complex conditions manually by selecting the Create Expression button. When you are finished configuring your condition, select Save.
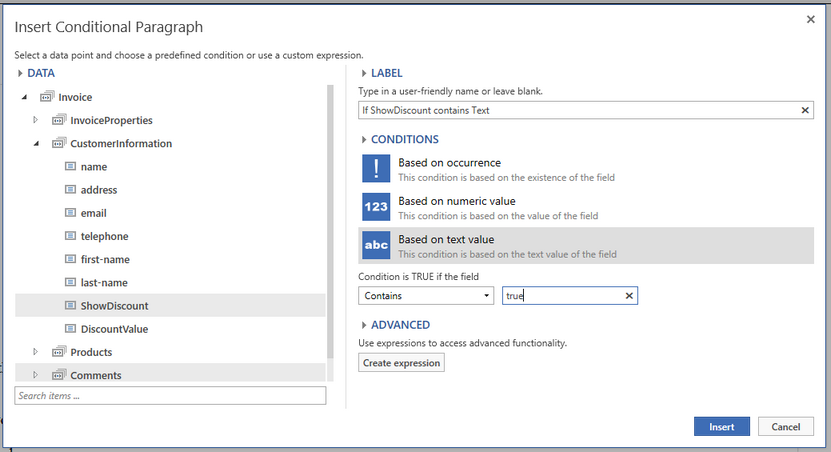
Figure 1: All the configurations have been set for our first condition.
3. You will notice in the Design Surface that your first condition will be added as paragraphs. Placeholder text will be visible giving an indication of what the condition is set up to test and by default a fallback section has been created.
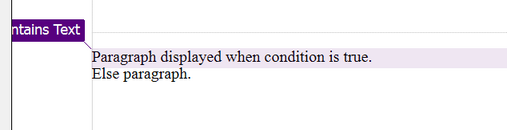
Figure 2: Placeholder text is viewed in each configured paragraph.
4. At this point you can simply replace the text that is present with the dynamic or static content that you wish to be displayed for condition and the fallback section. If you need to add more conditions or want to remove the fallback section you can learn how to here. In this example, we are including a message for when the "show-discount" attribute is set to true and when any other value is present to display a default message.
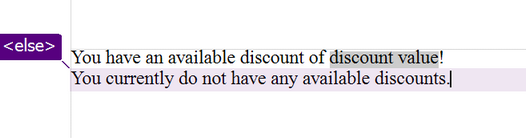
Figure 3: The content is added in each of the conditional paragraphs.
5. Lastly, you should test your results by previewing the output. You can Edit Your Data Source to modify the test value and compare to ensure the behavior is correct. In Figures 4 and 5 below, you can see that by changing the "show-discount" attribute from true to false, the output reveals the desired results. Notice that only one paragraph is used for the output and that no space will be consumed by the paragraphs that do not evaluate for the condition.

Figure 4: The output satisfying the condition.

Figure 5: The output when the fallback section is used.