|
Conditional Text |


|
|
Conditional Text |
|
Conditional Text elements allow you to add inline text dynamically based upon a conditional test on your data source. This useful element will allow you to build your Document Template to be targeted for specific occurrences in your data source. An example usage would be displaying company logos for each of your customers or adding messages to flag when balances are overdue.
In the example used below, you can notice that Conditional Text is used to display a company tag line inline when a specific condition is met. You can see the Conditional Text section displayed in orange and the designed condition highlighted above the Conditional Text section.
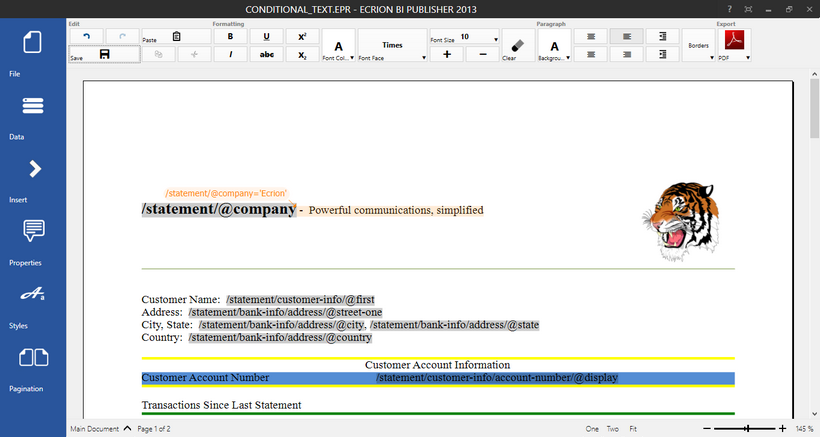
Figure 1: A Conditional Text section is used to add a company tag line if the company is Ecrion.
Usage
First you will need to select Insert from the Side Menu. You can then choose Dynamic Element and select Conditional Text from the resulting dialog. In the Conditional Inline dialog you will need to add your conditions accordingly. You should be aware that you can add as many conditions as you would like to accommodate all of your needed possibilities.
When working with conditions, you can choose to include a fallback section if no condition is satisfied. If you unselect this check box, nothing will be displayed in your output when no condition is met.
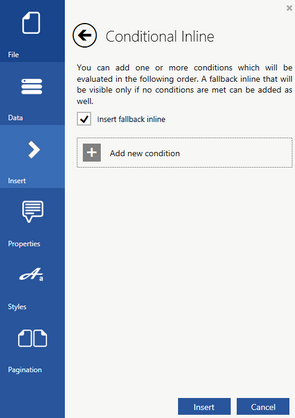
Figure 2: The Conditional Inline dialog allows creation of all conditions.
Building Your Conditions
You will now need to select Add new condition in order to add a condition. Upon selecting this option, you will launch the Edit Expression Dialog. You will need to use this dialog to build your conditional expression. In this example, the Company attribute is selected and the '=' operator is used to test for when the company name is "Ecrion". When you are happy with your expression, select Apply.

Figure 3: A conditional expression is built using the Edit Expression Dialog.
You can repeat this step to add as many conditions as you would like. You will be adding your content in the Design Surface after you complete this setup. When you are content with your conditions, select Insert.
Adding Your Content
When you insert your Conditional Text element, you will notice the section will be highlighted in orange and will contain placeholder text. You will now need to replace this placeholder text to add your desired content to be displayed if this condition is met. In this example, we have replaced the placeholder text with "Powerful communications, simplified". Remember, this text will only be displayed if the company name is "Ecrion".
Additionally, you can delete a condition by right clicking on that condition and from the Application Bar, selecting Delete. Here you will notice the Fallback section has been deleted.
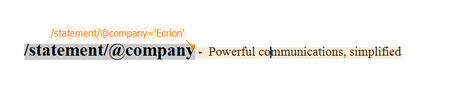
Figure 4: The content is added into the Conditional Text element.
When you are satisfied with the added content in your Conditional Text section, you should use the document view menu in the Status Bar to Preview your results. This will allow you to test the behavior of this Dynamic Element. You can see in Figure 5 the results from this example using the Print Preview option. As you can see, the company attribute value is "Ecrion" and consequentially the Conditional Text section is displayed.
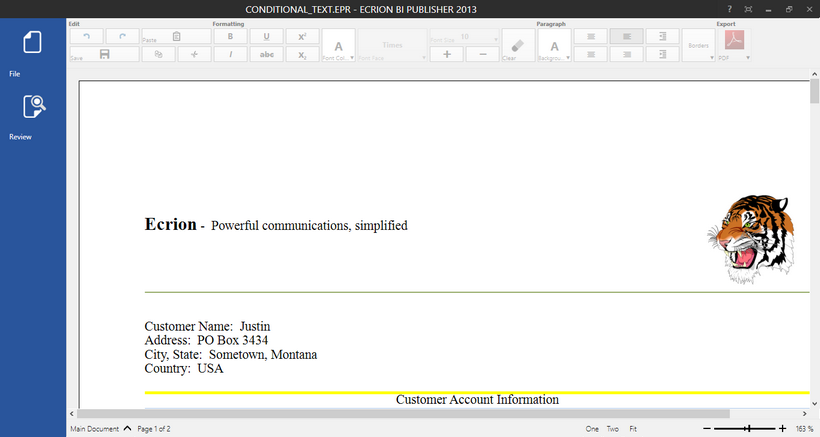
Figure 5: The Print Preview reveals the condition works as expected.