|
Checking a Document In |


|
Once you are satisfied with your adjustments and wish to commit your changes to the repository to create a new version, you are ready to Check In.
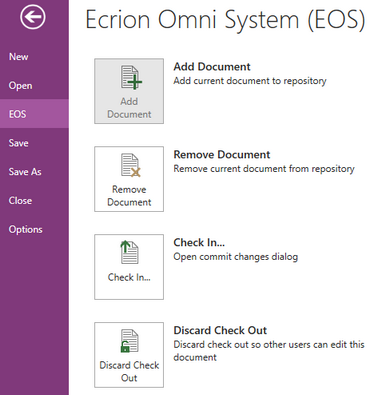
1. In the File Tab, select the EOS Menu. If your document is checked out, you will have the option to check in your changes.

Figure 1: The Check In option allows committing changes to repository.
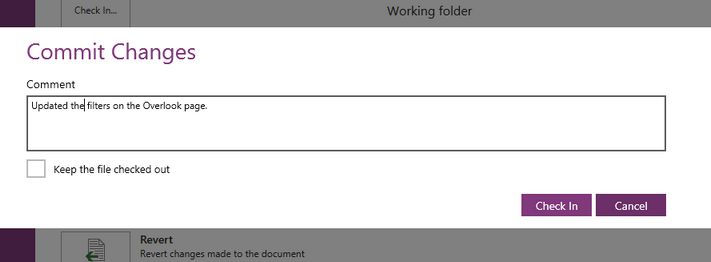
2. Select Check In. You will now be prompted with a simple dialog asking if you would like to add a comment. It is recommended you add a comment indicating what modifications have been made to the document.

Figure 2: A comment is added for reference in EOS.
3. If you would like to keep the checked out for editing, select the check box for Keep the File Checked Out.
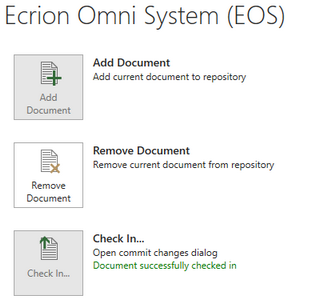
4. Select Check In when you are ready to proceed. You will notice an indication that the BI Architect is communicating with EOS and when finalized, you will receive a message below the Check In option indicating a successful Check In.

Figure 3: A message confirms a successful check in.