|
Configure different XF Rendering Server versions |


|
Over the time, different versions of the XF Rendering Server application have been created, each one providing more useful tools and options for the user.
Below are described the licensing mode, available tools and options etc. of previous versions of the application.
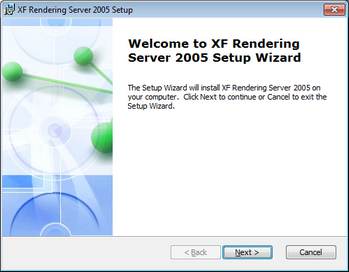
1. After running the executable file associated with the application, the Next button must be selected.
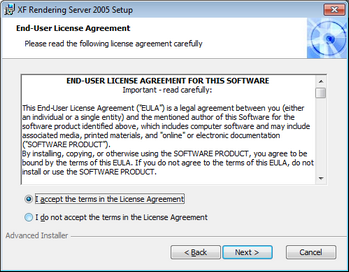
2. Accept the terms and conditions of the End User License Agreement.
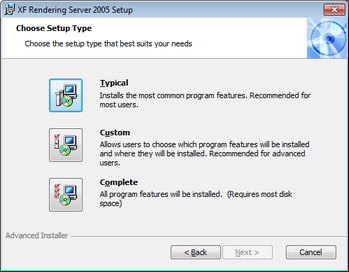
3. Select the Setup type. The available options are: Typical (installs the most common program features), Custom (the user can choose which of the following features will be installed: XF, XF .NET Components, XF Designer 2004, Samples, Documentation) and Complete (all the available features will be installed).
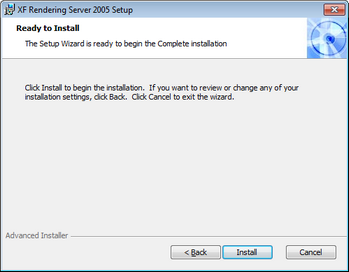
4. After choosing the appropriate Setup type, the user must select the Install button and proceed with the installation.
Note:
| · | Please notice that the number of licenses installed must match the machine’s number of Cores. |
1. To install a license in XF Rendering Server 2005, the user must first access the License Administrator 2.0 tool. It is located in the XF Rendering Server 2005 folder, under the Start Menu.
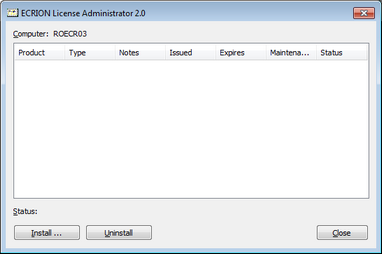
2. First, the license must be downloaded from the www.ecrion.com website, following the next steps:
| · | Log in into the account; |
| · | Access the Licenses page, located under the My Profile section; |
| · | From the drop-down list corresponding to Show Licenses For, select License Manager 2.0 – 2005 and earlier; |
| · | Select the available license corresponding to the installed product; |
| · | Download the .xml file containing the license key. |
3. Select the Install button from the ECRION License Administrator 2.0 dialog.
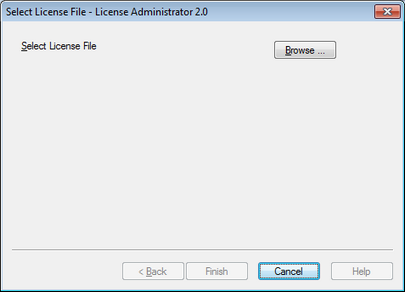
4. Select the Browse button and introduce the path to where the license is located.
5. The Select License File dialog will be displayed, where all the details regarding the license to be installed are listed.
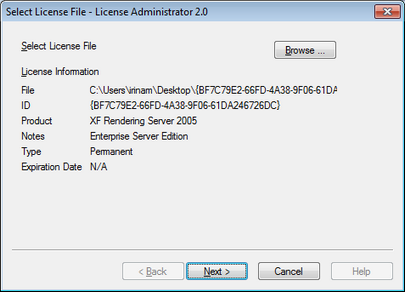
6. Select the Next button and introduce the User Name and Password used for logging on to the site.
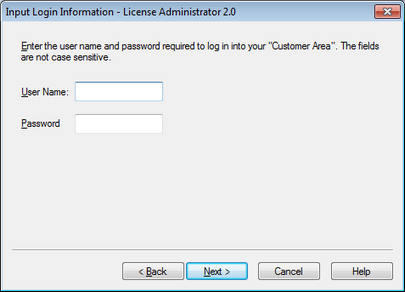
7. Select the Finish button in order to complete the installation.
8. The server must be restarted in order for the installed license to take effect. Access the XF Management Console tool, located in the XF Rendering Server 2005 folder, under the Start Menu.
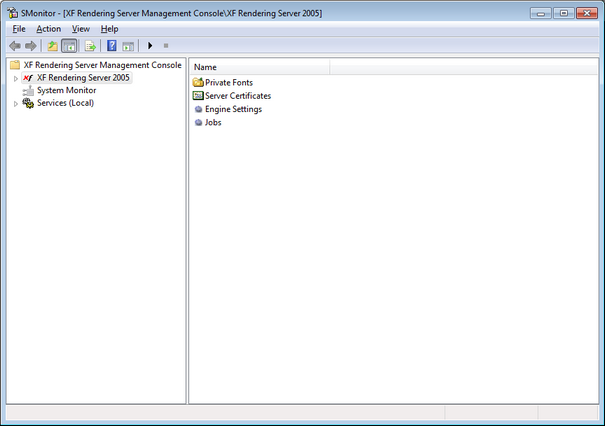
9. Select the Services (Local) option located in the left panel and identify the service corresponding to the server, that is, XF Rendering Services.
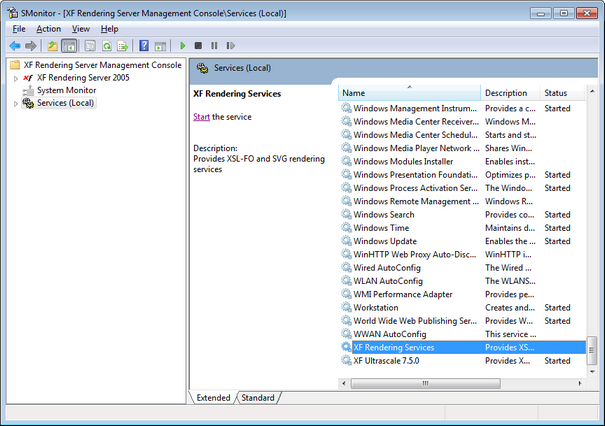
10. Select the Start (in case the service was stopped) or Restart (in case the service was already started) option.
The service can be found both in the Windows Services tool and the Management Console. The name of the service is XF Rendering Services.

| · | Render.exe - A native socket-based client for XF Rendering Server that sends out a rendering request to USvc locally or remotely. It is available on all supported platforms. |
| · | XF Designer 2004 - A layout editor that handles with ease all the complex parameters required for professional, dynamic publishing. Templates created in XF Designer are based on open standards such us XSL-FO and SVG and can be used in high-volume production scenarios to generate documents from any data including XML, databases, Web Services and more. |