|
Inserting Fields |


|
A Field is an inline element that displays content from the XML data source. When working in the Online Editor, you will see the XPath for the field, when you preview your document, or when you are ready to render, these XPaths will be populated with the values from the data source assigned to the template. In the Online Editor, there are two ways to insert a Field, this section will highlight both of these ways.
Tool Bar
1. First you will need to select the Field button, from the Inset group in the Tool Bar.

Figure 1: The Field button is highlighted in the tool bar.
2. You need to navigate through your assigned data source and select the appropriate field you wish to insert. NOTE: The XPath expression is created for you when you select an object from the data source.
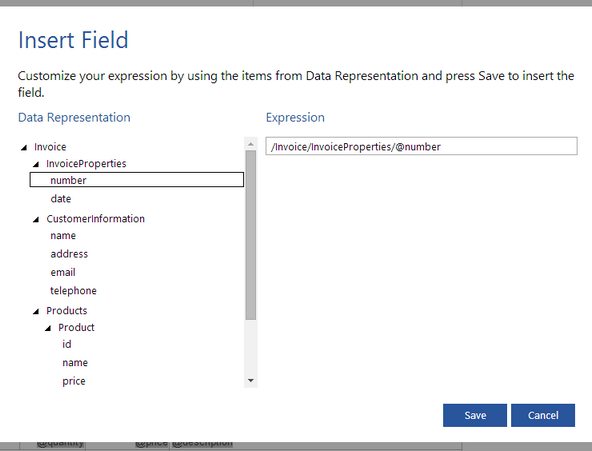
Figure 2: The invoice number element has been selected as the field to enter.
3. Once you have selected the Field you wish to insert, select Save, and the field will be visible in your template. NOTE: The field will be inserted where your cursor is located in the design surface.
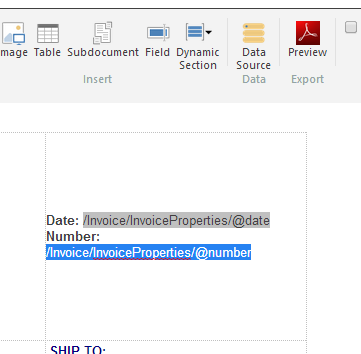
Figure 3: The field has been inserted into the design surface.
Data Tab
1. Will first need to select the Data Tab at the bottom of the side menu, in order to view your attached data source.
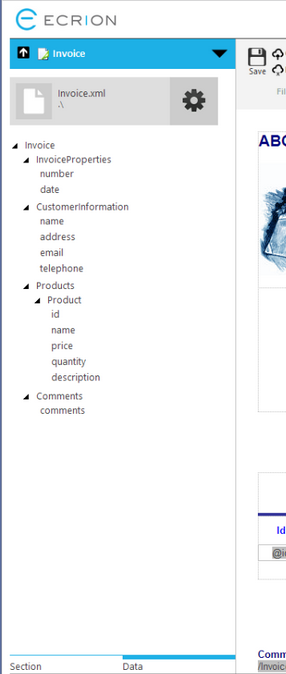
Figure 4: The data tab is highlighted at the bottom of the Side Menu.
2. You will need to navigate through your data source to select which object you wish to insert. When you have located the object you wish to insert, mouse over it and you will see a black arrow.
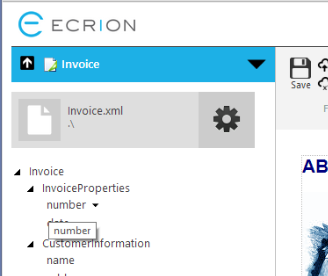
Figure 5: The black arrow is visible when the element is moused over.
3. Select the black arrow, and you will have and select Insert Field. NOTE: The field will be inserted where your cursor is located in the design surface.
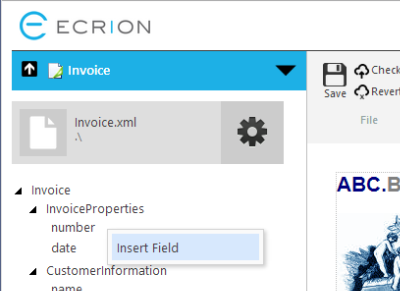
Figure 6: The insert field option is highlighted.
4. The field you selected will now be visible in your template, showing the corresponding XPath.

Figure 7: The invoice number element has been selected as the field to enter.
Field Options
Once you have your fields inserted into your template you will have a few options for formatting and editing the fields.
| • | You will be able to add font and paragraphs options to your fields just with you would with static text. |
| • | By right clicking on a field a contextual menu will give you the options to edit, or delete the field. |
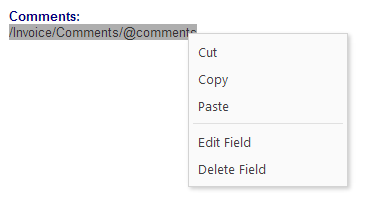
Figure 8: Contextual menu shown when right clicking a field.