|
Styles |


|
|
Styles |
|
The BI Publisher supports the use of stylesheets (.css) when designing your Document Templates. A stylesheet is used to make the formatting of your documents consistent, managed in one location, and even dynamic as well. These are commonly used in situations such as having a different stylesheet for each of the four companies you might be producing statements for. This will drive the look and feel of their documents such as table colors, borders, alignment, and more from one single source. If a company were to ask you to change their templates to use a different color table for their transactions, you would simply need to make this modification in only one location.
This section is designed to help you understand your options in working with Styles in the BI Publisher.
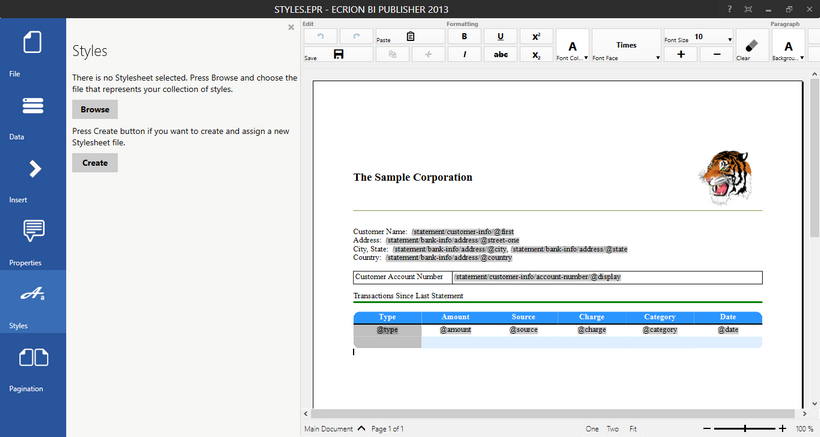
Figure 1: The Styles dialog provides quick access to assigning or creating your styles.
Usage
The first step in working with Styles in the BI Publisher is to select Styles from the Side Menu. This will open the Styles Dialog so you may choose from either assigning a previous stylesheet or creating your own. Below, you can find reference to each of these choices and the subsequent actions you will need to take.
Assigning A Current Stylesheet
To assign a current stylesheet (.css file), you can simply select Browse to choose the file that represents your collection of styles. You should be aware, that once your have assigned a stylesheet, you can always add more Styles by following the steps to Add New Style highlighted in the section below for Creating Your Own Stylesheet.
Creating Your Own Stylesheet
To create your own stylesheet, select Create. Your first step will be to choose the location of where you would like to save your CSS file and provide a name for this stylesheet. You will now be working in the Styles Dialog to create your own Styles. Your Styles will be listed here in this dialog, and you will notice that at first you will not have any listed.
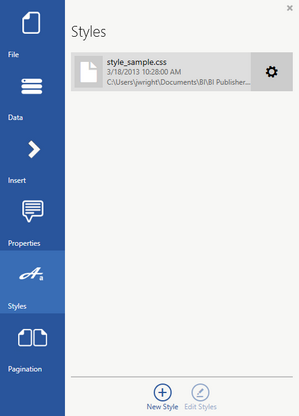
Figure 2: The Styles Dialog is used to manage Styles.
To add a new Style, select New Style at the bottom of the dialog. This will now open the New Style Dialog where we can follow some basic configuration steps to create a Style.
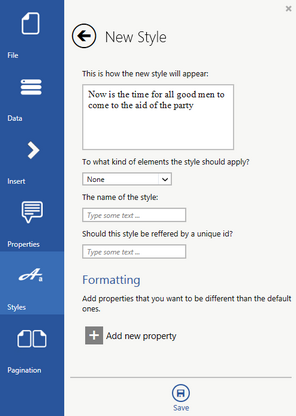
Figure 3: The New Style dialog is used to add new Styles. |
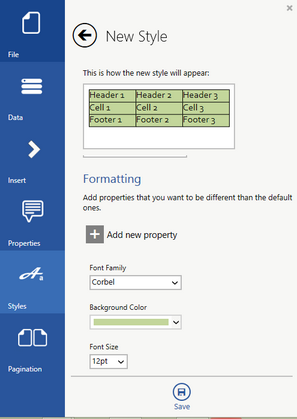
Figure 4: Properties are added for the new Style. |
You will notice that the New Style Dialog provides a preview window for your reference when building your Style. You can look here to see how applying your Style will impact your Document Template.
Your first step will be to select what kind of elements the Style will be applied to. You can select this property from the drop down menu provided. You should be aware that this Style can only be applied to elements of this type once created.
You can give the Style a name and a unique ID by simply manually adding this information in the available fields. You should know that the reason why you would assign a name or ID, is when you will be targeting elements to apply these styles to. If you do not wish to assign a unique ID or name, then your styles, by default, will be applied to all corresponding elements in your Document Template.
Lastly, you will need to apply the correct Formatting to the object you have selected in the first step. To do so, select Add New Property. This will launch the commonly used Properties Screen. Here you will simply select the Property you would like to assign for this particular Style. Once selected, you will notice the Property is added to the list of formatting objects. Now you need to select the value for this property. As you can see in Figure 4, this process is repeated for Font Family, Background Color, and Font Size properties. Notice how the preview image changes to reflect how this Style will modify a table if applied. Select Save when you are satisfied with this Style configuration.
You should repeat this process highlighted above to create the Styles that will drive the formatting of your document. Remember, that if you do not assign a name to your Styles they will apply to all of the elements in your Document Template. You can read more below about how to apply your styles once created.
Applying Your Styles
Now that you have put the hard work in to create or assign your Stylesheet. You can apply these Styles to elements in your Document Template with a click of the mouse in the Styles Dialog. You will first need to ensure that the Styles dialog is open. You will see that each of your Styles is represented as a preview image. If you did not specify a Name or ID for your Styles then you will need to apply them to elements in your document.
To complete this task, you will need to place your cursor on the target element to apply the Style to. Next, select the Style in the Style Dialog you would like to apply. Below, you can see two diagrams that demonstrate the application of two Styles: one for paragraph elements to align text and change font color, and another Style for table elements that changes the background color and a few font properties.
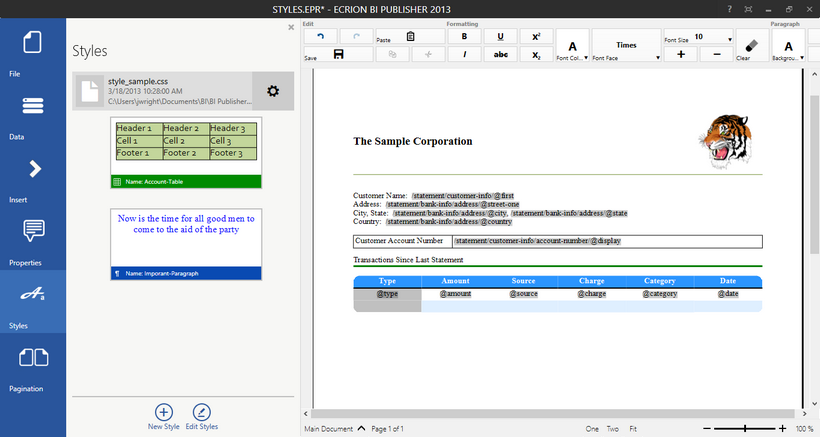
Figure 5: The available Styles have yet to be applied to any present elements in the Design Surface.
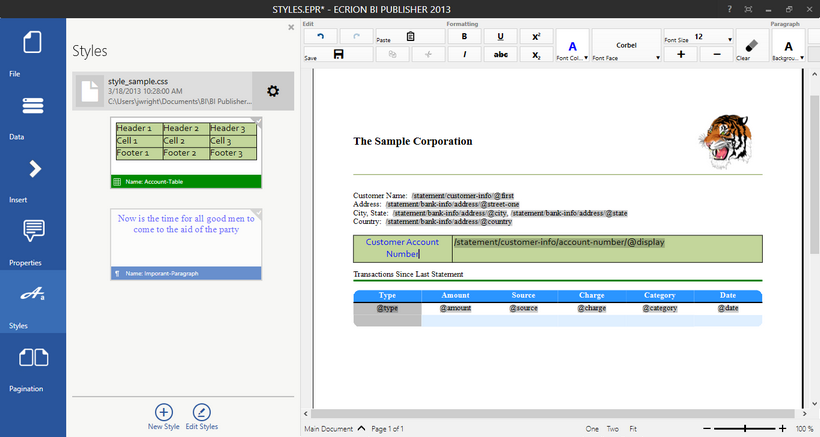
Figure 6: Both Styles are applied to a table and paragraph within the first cell.