|
How to Insert a Basic Table |


|
|
How to Insert a Basic Table |
|
To insert a table into your document template, follow the steps provided below.
1. In the Ribbon, select the Table button located in the Insert Tab.
2. You can either use the quick insert option to insert up to a 10X8 table or you can select the Insert Table button and he Insert Table Dialog will be displayed. It is important to note that using the quick insert option will not insert a header or a footer row.
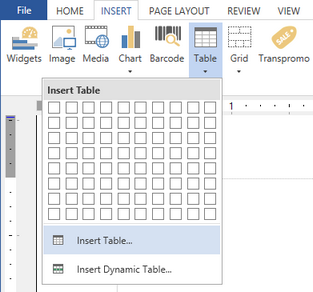
Figure 1: The Insert Table button is highlighted.
3. Select a format to use for your table by using the up and down arrows to the right of the preview images. To select the format, click on the preview image available.
4. Type the number of rows and columns you wish to have in your table in the provided fields.
5. You can check or uncheck available boxes for adding a table header and footer. Table headers and footers will be displayed on all pages when a table spans across multiple pages.
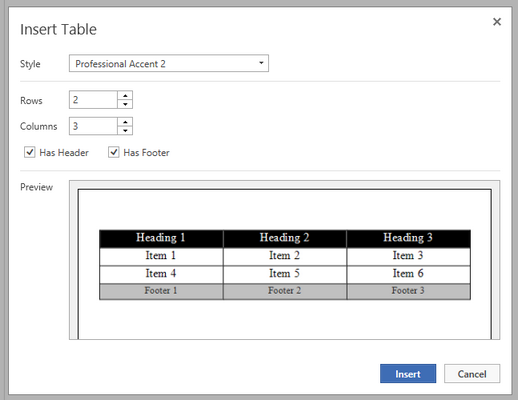
Figure 2: All the options configured in the Insert Table Dialog.
6. When you have finished your configuration for your table, select Insert. You will notice that your table is now inserted into the Design Surface. You can proceed with editing and adding content to your table.
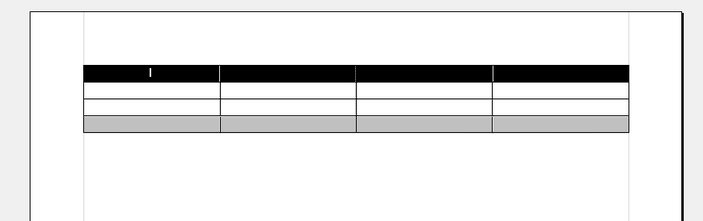
Figure 3: The table is inserted into the Design Surface.
Next Steps