|
Working with Rows and Columns |


|
The design surface is sectioned into Rows and Columns where you will place your Visualization and Filter widgets. When you first open a new document the design surface will have 2 columns and 2 rows. However, depending on how complicated your dashboard will be and how many widgets you have this may need to be adjusted.
Home Tab
1. Navigate to the Home tab in the ribbon.
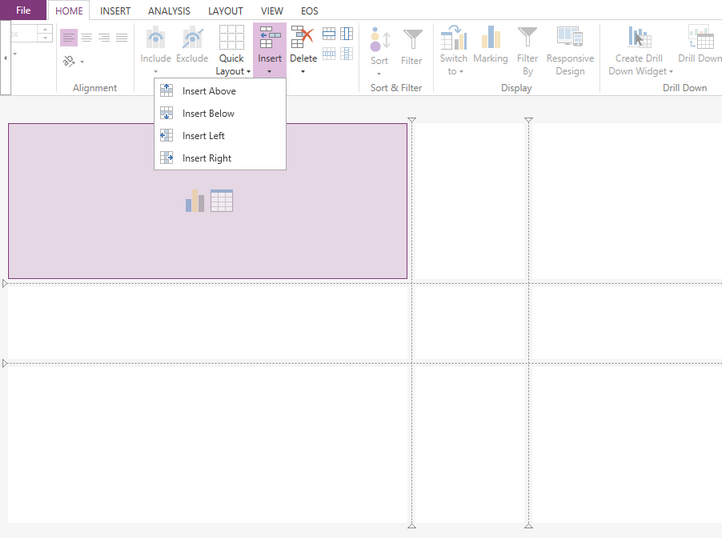
2. In the Layout group use the Insert Above, Insert Below, Insert Left and the Insert Right, options to insert new rows and columns as you need to.

Figure 1: The insert Rows and Column buttons in the layout group were used to add a new row and column.
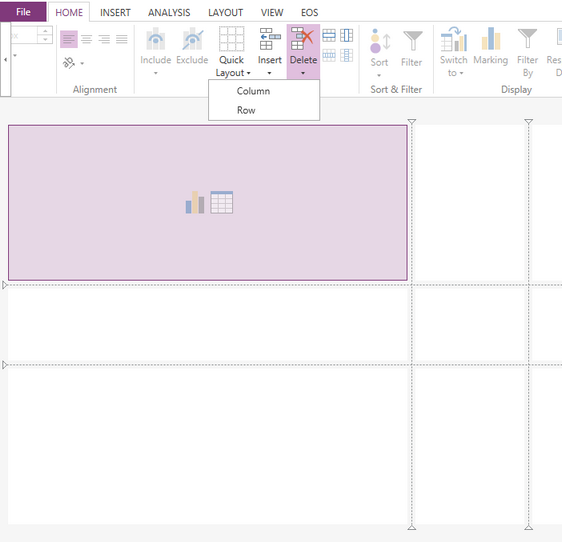
3. From this group with will also have the ability to delete a row or column depending on where your cursor is located in the design surface.

Figure 2: The delete options for your dashboard.
Layout Tab
1. Navigate to the Layout tab in the ribbon.
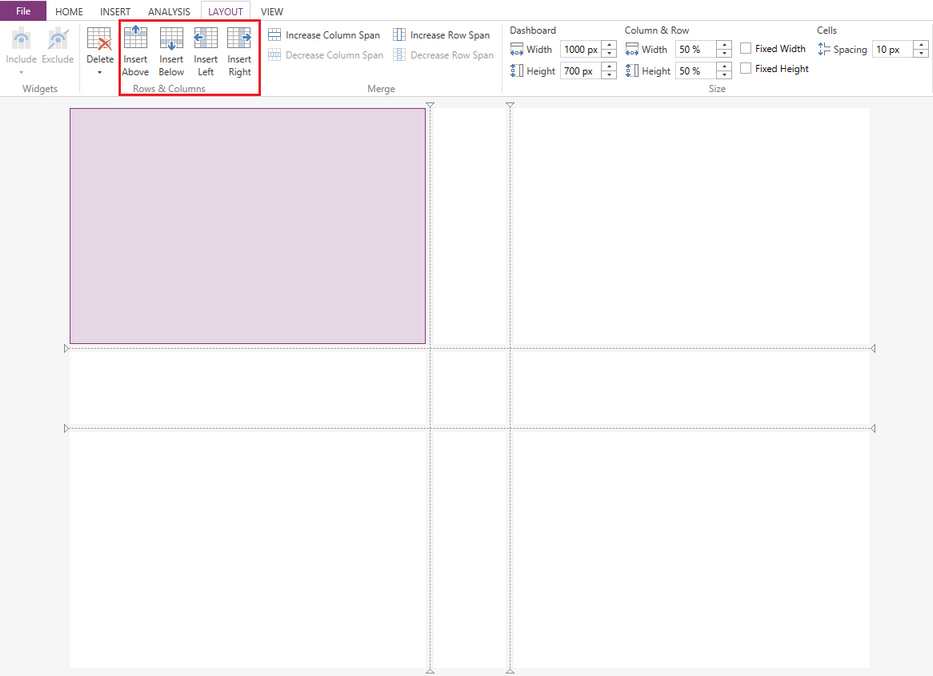
2. In the Row and Column group use the Insert Above, Insert Below, Insert Left and the Insert Right, buttons to insert new rows and columns as you need to.

Figure 3: The insert Rows and Column buttons in the Layout tab were used to add a new row and column.
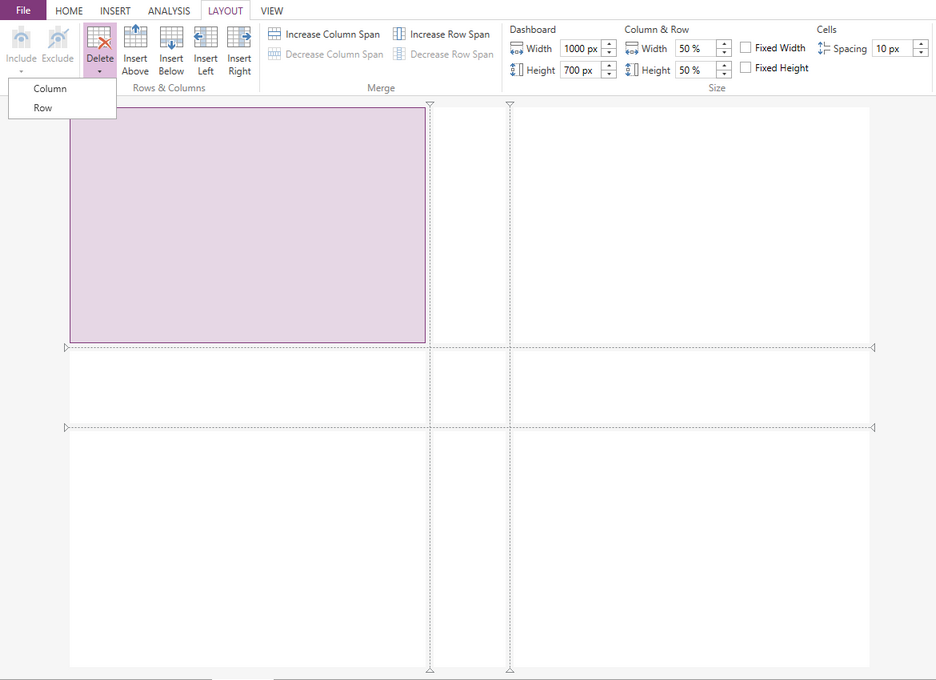
3. From this group with will also have the ability to delete a row or column depending on where your cursor is located in the design surface.

Figure 4: The delete options for your dashboard.
Next Steps
Using the Merge Options - Learn how to merge and unmerge your dashboard columns and rows.
Pages Options - Learn about the different options you have for the dashboard pages.
Dashboard Options - Lean about the different Dashboard options.