|
Use Parent Set |


|
|
Use Parent Set |
|
Overview:
Sometimes, there is data that depends on other data and must be displayed accordingly for a better overview. It is easier, in this case, to work with tables for which "children" tables can be inserted.
Solution:
For a better understanding on how the Parent Set option functions, an example is provided below.
1. The chart.xml file present in the XF Designer Start Menu folder must be assigned as data source to a .xfd document.
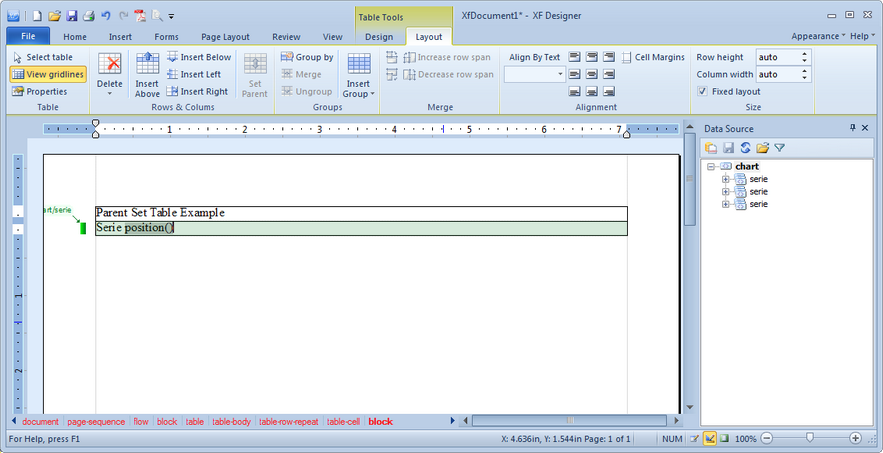
2. A Repeating Table is inserted, repeated after "/chart/serie"
Also, for exemplifying its usage, a header title has been inserted ("Parent Set Example") and a field that returns the position of each "serie" node.
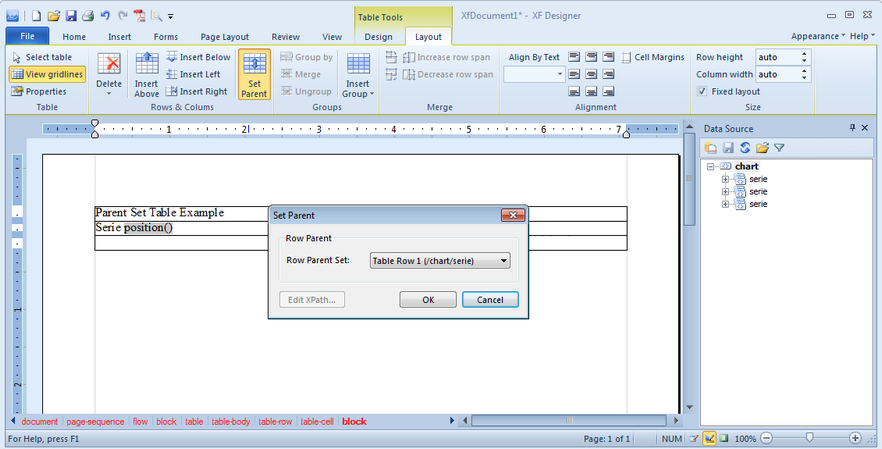
3. The cursor must be placed in the second row (the repeating row) and the Insert Below button located in the Rows and Columns group under the Layout tab selected in order to insert a new row below.
4. After the row is inserted, the cursor must be placed in the new row and the Set Parent button located in the Rows and Columns group under the Layout tab must be selected in order to set the "parent row".
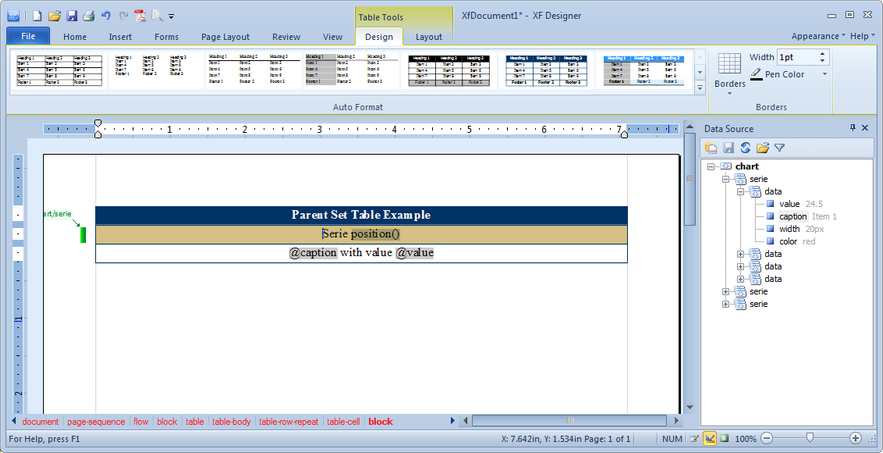
5. After the "parent" row is set, the "child" row can be converted to a Repeating Row after "data" and, for example, the "@caption" and "@value" fields inserted into it.
Also, a design can be applied to the table from the Auto Format group located under the Design tab.
Design View:
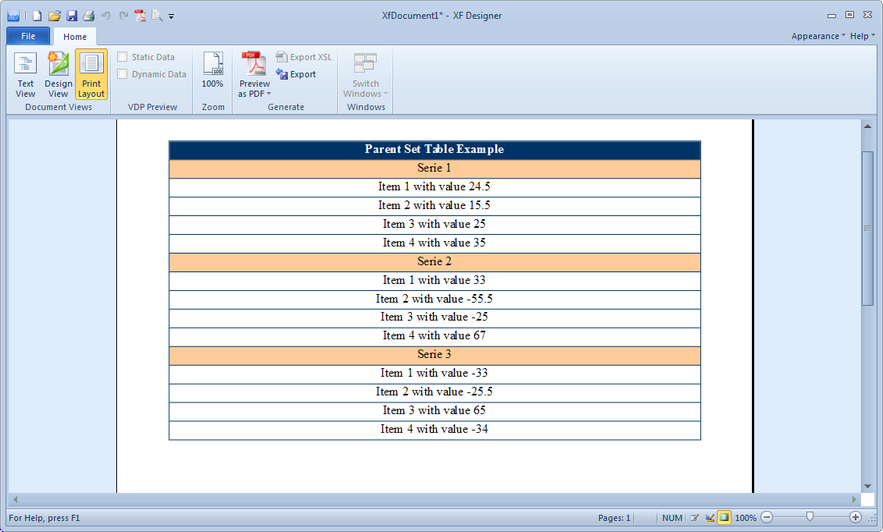
Print Layout (output):
Note:
| • | A Parent Row can only be a Repeating Row (table-row-repeat). |