|
Adding Watermarking to a Template |


|
|
Adding Watermarking to a Template |
|
Overview:
Often, users wish to add text behind their document content displaying messages such as "Confidential". The functionality is normally referred to as "Watermarking".
Watermarking can be a useful tool for business documents that must incorporate logos and other important notation within the document that can be displayed in the background of every page.
Solution:
This tutorial will guide users through the process of adding watermarking to their templates.
Notes:
| • | This is successfully completed by using an SVG image to display the desired text. |
| • | This content will be placed in the header of the desired page layout. |
| • | Users will need to use the Text View mode of XF Designer to place the sample code and add their own text. |
| • | A watermarking sample (watermark.fo) can also be found in the Samples Folder within the Start Menu Directory of XF Designer. |
Instructions:
1. The following code (representing an SVG image placed inside a block-container) must be copied
<fo:block-container z-index="-1" position="absolute" left="5pt" top="5pt" width="100%" height="100%">
<fo:block>
<fo:instream-foreign-object>
<svg xmlns="http://www.w3.org/2000/svg" width="680" height="920">
<text font-family="Arial Black" font-size="55pt" style="fill:rgb(255,192,192)" x="-10" y="300" width="680" text-anchor="middle" transform="rotate(-54, 340, 15)">Watermark Sample Here</text>
</svg>
</fo:instream-foreign-object>
</fo:block>
</fo:block-container>
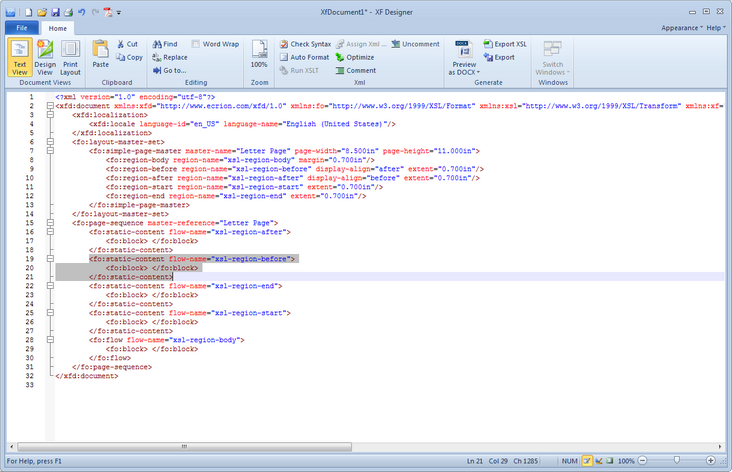
2. XF Designer must be opened and switched to Text View mode
To switch to Text View, the Text View button located in the Document Views group under the View tab must be selected.
3. The copied content must be copied in the page's header
The header content example copied above must be pasted within the xsl-region-before flow content as highlighted below.
Before:
After:

4. Different attributes like fill color, font, orientation etc. can be customized
Using the example code, users can see the attributes for the SVG image. For example: font-family="Arial Black". Users can make modifications to these attributes to achieve the desired look.
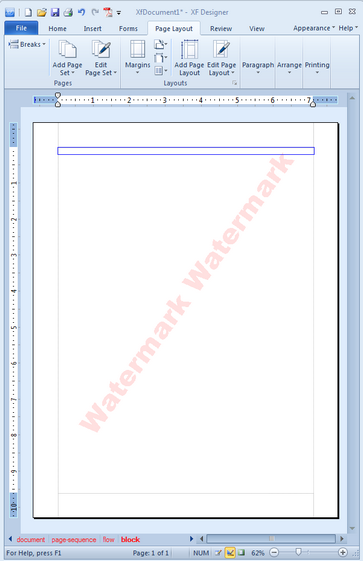
5. Preview and Adjust
Users can use the Print Preview button located in the Document Views group under the View tab to switch to Print Layout and view the output.
If any adjustments are needed, one can simply navigate back to Text View and customize as desired.
Sample output is highlighted below for the above example.