|
Assigning a Data Source |


|
|
Assigning a Data Source |
|
Your Data Source can be accessed for inclusion in your page sequence just like you would access in the Publisher. There are a couple of ways in which you can assign a data source to use, this section will highlight these ways.
Using the Tool Bar
| 1. | In the Data group on the tool bar select the Data Source button. |
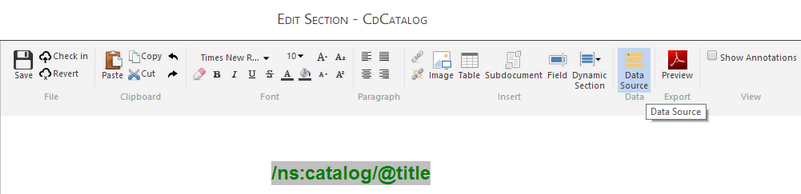
Figure 1: The Data Source button is highlighted in the toolbar.
| 2. | Once you select the Data Source button, you will need to select a Data Source from the available menu and than click on the Save button. |
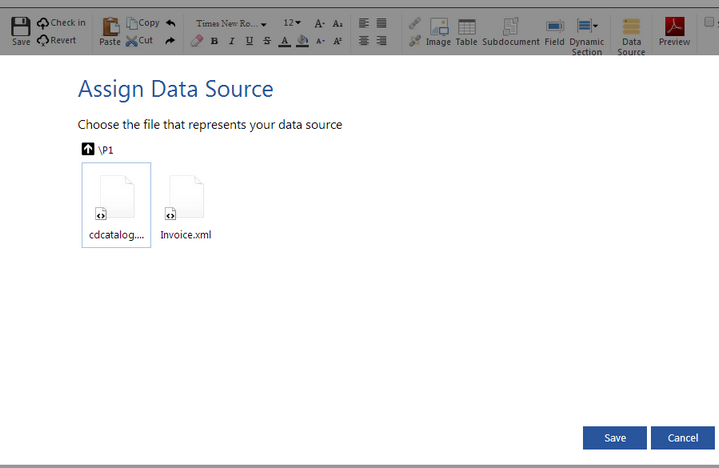
Figure 2: The appropriate data source is selected from the menu.
| 3. | You will be able to view your newly added Data Source by selecting the Data Tab on the bottom of the Side Menu. |
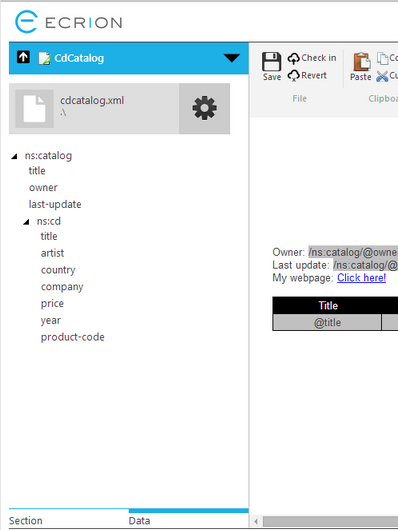
Figure 3: Data Source is accessible by selecting the Data Tab.
Using the Data Tab
| 1. | Select the Data Tab located at the bottom of the Side Menu and select the Browse button. |
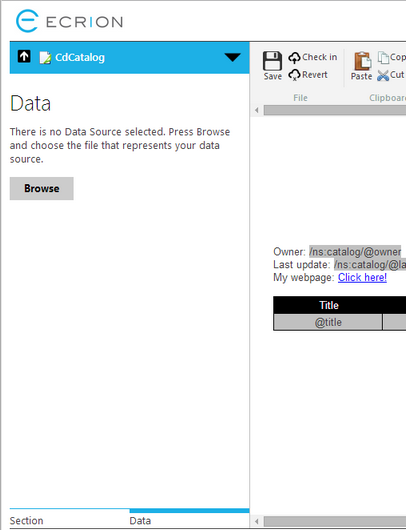
Figure 4: The Assign Data Source button is located in the Toolbar.
| 2. | Once you have selected the Browse Button you will need to select a Data Source from the available menu and than click on the Save button. |
Figure 5: The appropriate data source is selected from the menu.
| 3. | You will be able to view your newly added Data Source in the Data Tab. |
Figure 6: Data Source is accessible by selecting the Data Tab.
Gear Button Options
After you have inserted your desired Data Source, you will notice a gear button to the right of the file name. By selecting this button you will have two options regarding your attached Data Source.
| • | Reload Data Source - This option should be used if edits have been made to the Data Source you are working with, in order to obtain the most recent version. |
| • | Remove Data Source - Selecting this option will remove the current Data Source. |