|
How to Insert a Date Range |


|
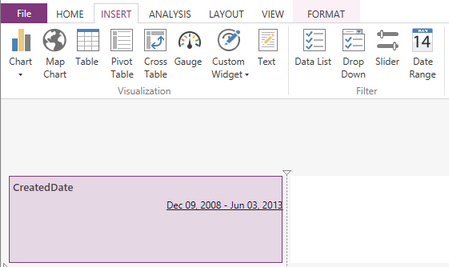
1. Navigate to the Insert Tab in the ribbon.
2. Select the Date Range button from the Filter group.

Figure 1: The Slider button highlighted in the Filter group.
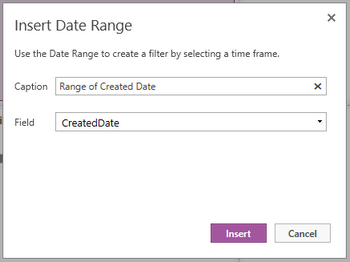
3. Give your Date Range a caption to give your dashboard users a clear understanding of the data that will populate the Date Range.
4. From the drop down menu select the date field that you would like to populate this Date Range. If no Caption is added before this field is selected, the Caption will automatically populate with the Field name.

Figure 2: The Date Range dialog with options configured.
5. Once you have set up the Date Range Filter as desired, you will simply need to select Insert and the list will appear in the Design Surface.

Figure 3: The resulting filter in the design surface.